
This is a question I get asked a lot because you guys often see me do one or both methods in videos and within courses, but maybe I went too fast or it wasn’t clear for your camera make and model. Never fear, today is the day we go through this.
For Sony users, the method to use a grey card to set a custom white balance can be seen in the video here:
For other makes, check out the how to’s at the end of the post.
If you don’t want to set it in camera all the time, you can absolutely just shoot the card in the field. Remember to reshoot it either way whenever the light changes, because all it takes is a cloud to alter the colour balance in the light.
If you’re using the “shoot in the field option” instead of the custom setting option, all you need to do is open that image of the grey card along with the rest of the shoot into your image processing program of choice, and then use the eyedropper to select an area of the grey card. The white balance will correct to middle grey and from this point, you can select all the images shot in that location and sync the white balance settings over from the grey card image.
You can also use the curves white balance hack that we covered in December to use your card to set the exposure and white balance in Photoshop using a curves adjustment layer that you can then copy and paste into each edit you do from that shoot.
For best results when setting the white balance in the location with a grey card, we recommend angling the card towards the main light source to ensure you are balancing to the light, not to colour casts in the scene (like grass for example, of which the green can reflect off the card, skewing your white balance towards magenta).
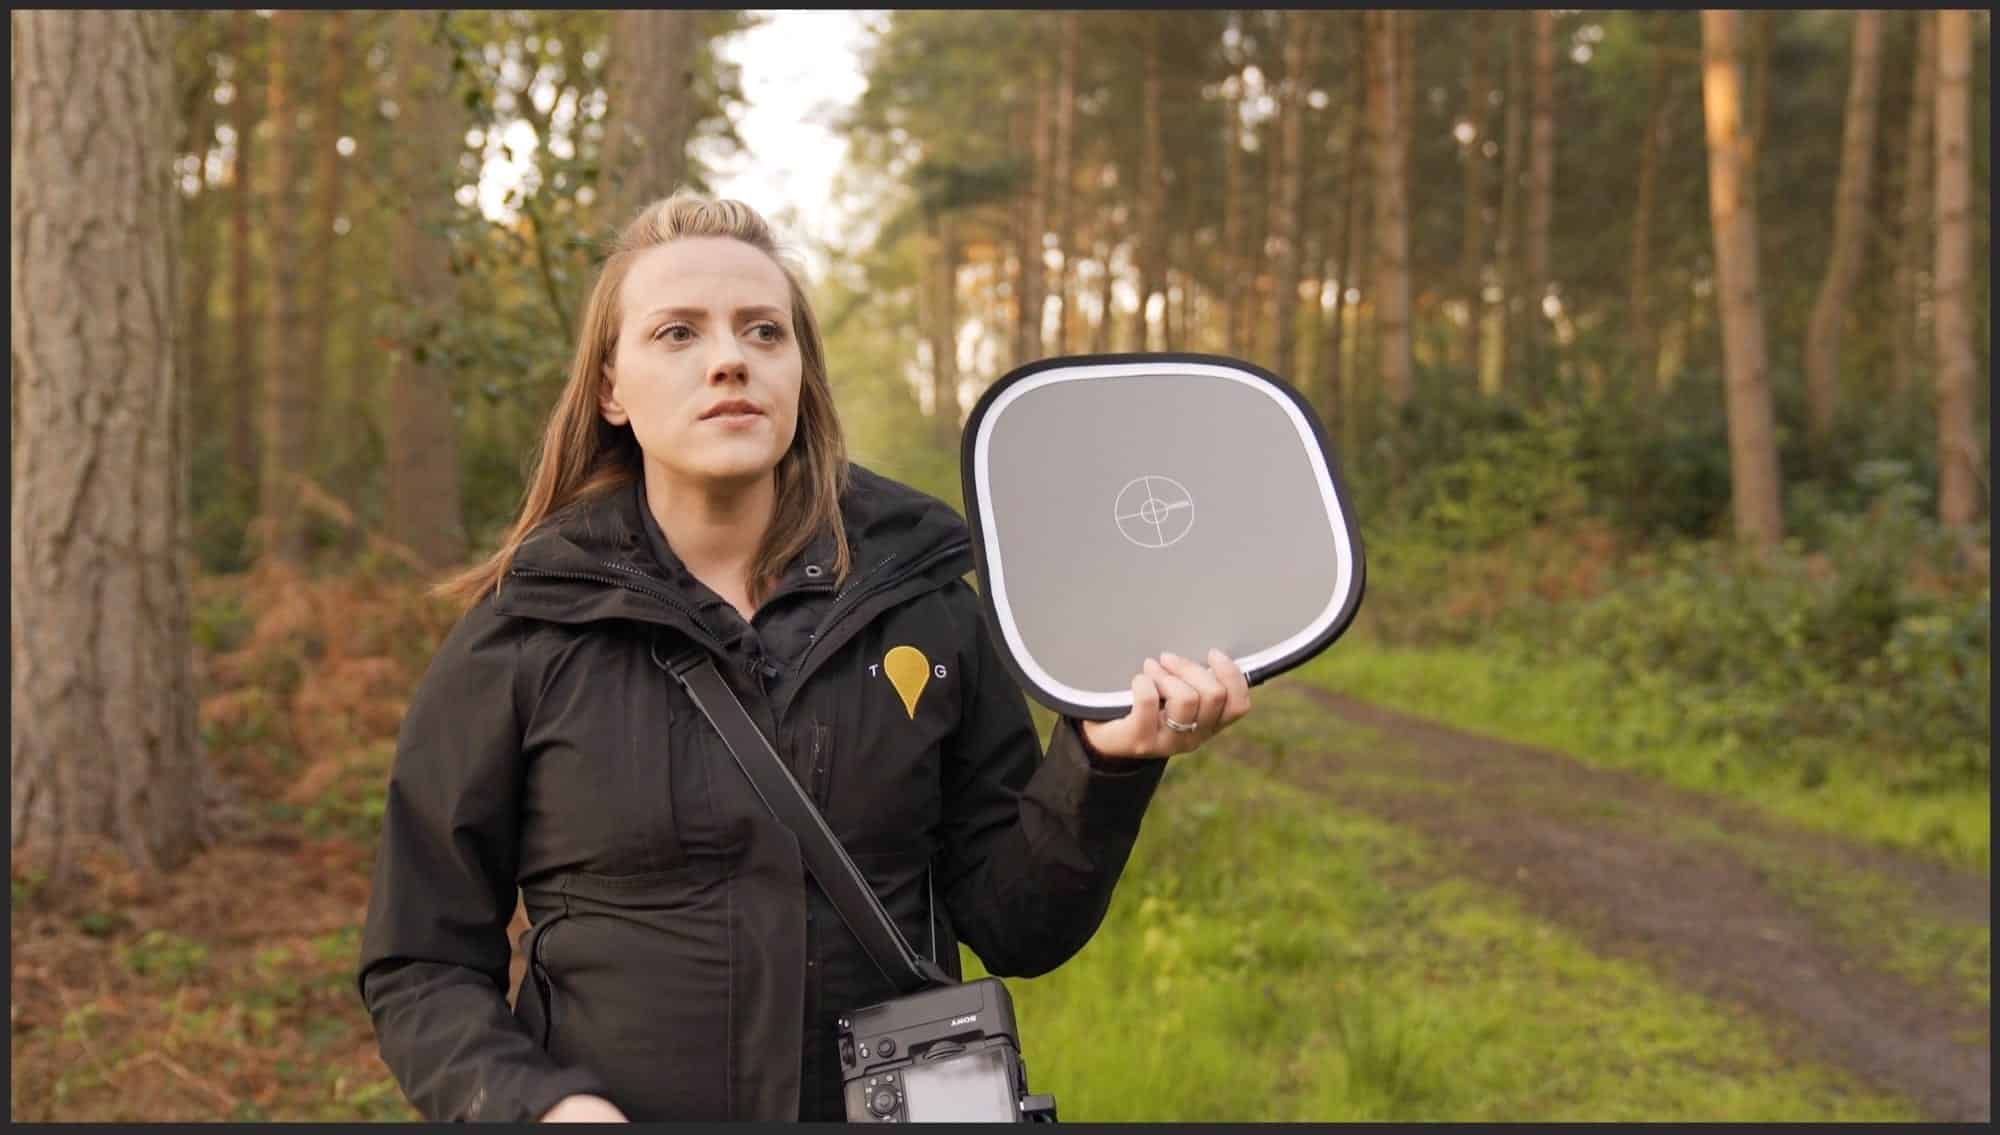
How to custom set your white balance with a grey card for…
Nikon
- In the menu find “White Balance” on the shooting menu options
- Scroll until you see “PRE setting” and highlight that – this is custom white balance.
- Hold down your white balance button (WB) for a few seconds until your display is flashing (if your model doesn’t do that, find the PRE setting in your menu and toggle to the right – choose “Measure” and set for OK).
- Take a photo of the grey card where it completely fills the entire screen, with nothing at all on the outside.
- Job done!
Canon
- Take a photo of the grey card where it completely fills the entire screen – there must be absolutely nothing else in the image. Depending on your lens, your camera may not be able to focus on the card as it will be quite close, so in this situation, definitely switch to manual focus. Capture that image!
- Scan through your main menu to where it says “Custom White Balance” or similar. It will then ask you to choose a reference image (the grey card)
- Select the image of the grey card that you just took within the scene. It may ask you to confirm using the WB from the image to set a custom WB, just select OK.
- Finally, set your camera’s White Balance setting to Custom. The icon for custom is a square above two pointing triangles – that will have the custom preset inside it right now.
- Job done!
Fuji
- You’ll need to find the on-screen White Balance menu which is usually done through a function button or by pressing a WB control on the camera/menu
- Move to one of the three custom settings – indicated with an icon that is a rounded rectangle with both an arrow and a number in the corner – scroll right You’ll be presented with a rectangle in the middle of the screen.
- Place the grey card in the scene and fill the rectangle with the card and make sure your exposure is accurate.
- Take a picture and your camera will set and store the new white balance preset
- Job done!
Panesonic
- Activate the WB button on the camera (this might be on the top or the back) and scroll through the options until you reach Custom “1”
- Click up on the navigation control, you’ll see the screen change to White Set
- Place the grey card in front of the lens so the box on the screen is filled
- Click Menu/Set
- Job done!
Sony
- Head to the white balance menu/selection
- Scroll down to Custom 1 – Click right and hit set
- At this point, you should see a square or a circle show up on the screen
- Line up your grey card to completely fill this square or circle.
- Press the centre button to capture the white balance
- Press the centre button again (if needed) to set it
- Job done!
Hope this helps!