
It’s getting to that time of year again when the festive season is starting to build up. Do you know what that means?! It’s time to photograph dogs with fairy lights! You may call them holiday lights, Christmas lights, fairy lights or goodness knows what else, but for the purposes of this how-to, we’re sticking with what we call them in my Yorkshire-based family – Fairy Lights.
There is also a video available for this topic, you can find that here:
MTog’s you have more!
I thought that some little bits about the behind-the-scenes might be useful in terms of my set-up decisions and moving bits around to make it work. This longer video is inside the MTog Vault. You can find out more about Membership here.
Quick Kit List
- PIKA200PRO – https://www.essentialphoto.co.uk/products/pika200-pro-portable-battery-powered-ttl-pocket-flash
- SMART Speedlite Adapter Bracket – https://www.essentialphoto.co.uk/products/pixapro-smart-speedlite-adapter-bracket-bowens-s-type-fitting
- 65cm Rice Bowl – https://www.essentialphoto.co.uk/products/65cm-25-point-5-16-sided-easy-open-rice-bowl-parabolic-softbox-with-white-interior
- Light Stand – https://www.essentialphoto.co.uk/products/pixapro-240cm-air-cushioned-studio-light-stand-4-section-interchangeable-fitting
- Flash Transmitter – https://www.essentialphoto.co.uk/products/pixapro-pro-st-iv-2-point-4ghz-flash-transmitter
- Crate Props – https://blessenceprops.co.uk/products/special-offer-set-of-3
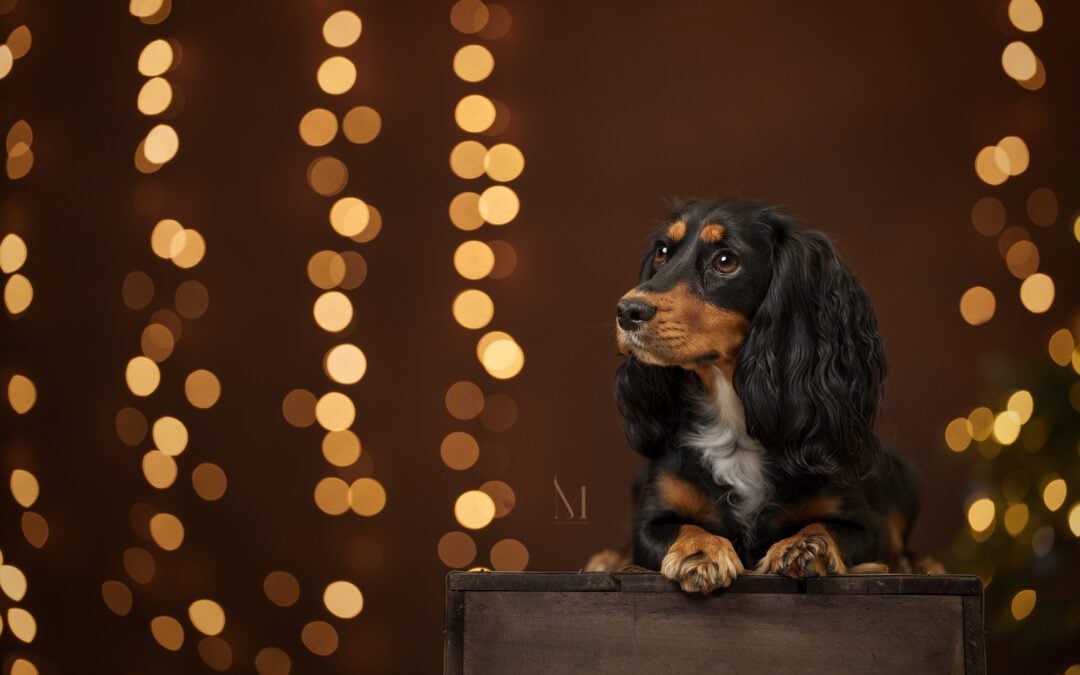
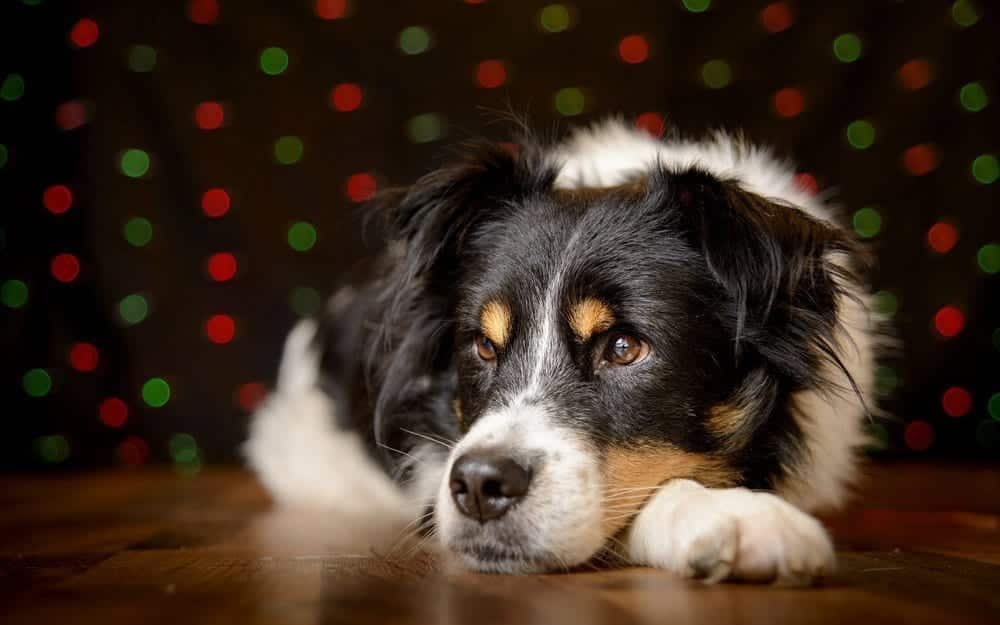
First, let’s see what kind of a shot we are going for here:
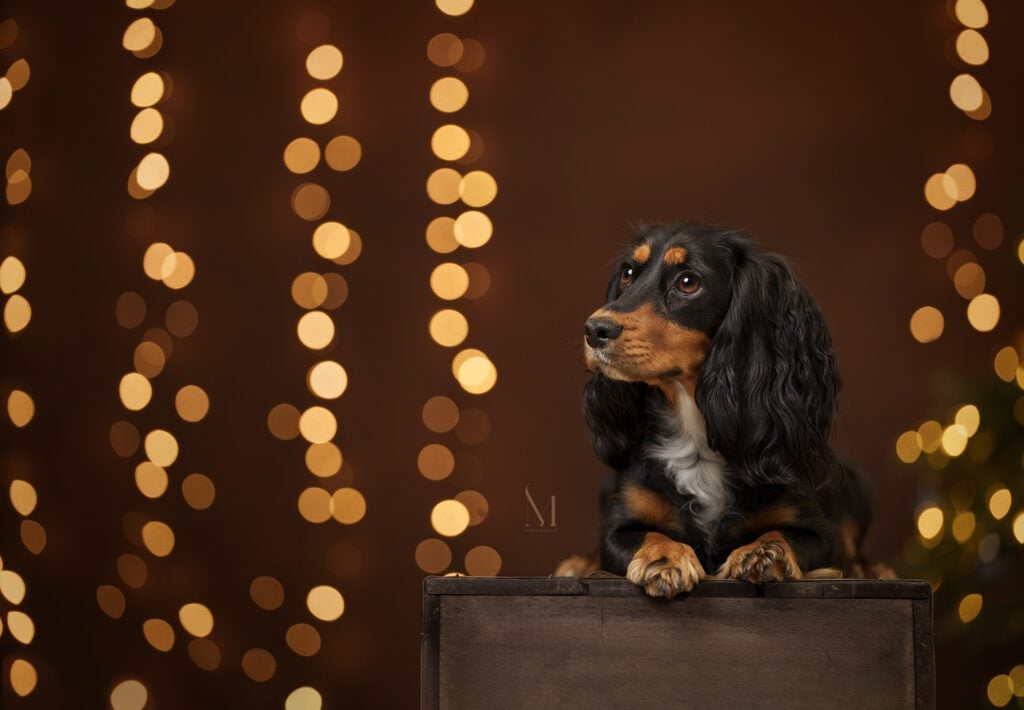
Essentials for photographing Christmas lights
There are some sure-fire essentials when it comes to getting that beaut bokeh from fairy lights:
- Space – you’ll need space to set up your distances and using doorways is an easy way to double the amount of space you have to work with
- A lens that goes super wide for its aperture – f2.8 is fine, you can get away with f4 in the right set-up, but the lower the better!
- A light source – this can be a lamp, a speedlight, an LED panel, a strobe or whatever you have handy – the trick with a speedlight or a strobe is setting it on the lowest possible power so we recommend something like the Pika200 Pro from Pixapro (use the code 10OFFTPSJM for 10% off) which has lots of stops to play with and suits this project perfectly.
- Fairy Lights or a Christmas Tree, either or, or both
- A willing subject – hopefully one that doesn’t move too much!
Once you have all of the ingredients ready – it’s time to set up.
For this How-To I used our studio space but in a previous How-To I used a small narrow space (see image below right) where we had Finn as our model with the sppedlight at the other side of a doorway and the fairy lights were hung over the back of a door.
I set up the speedlight on the lowest power just inside our kitchen doorway, and I sat behind this in the kitchen on the floor. The dog needs to be closer to you than they are to the lights. That is really important.
The final spaces & setups look like this:

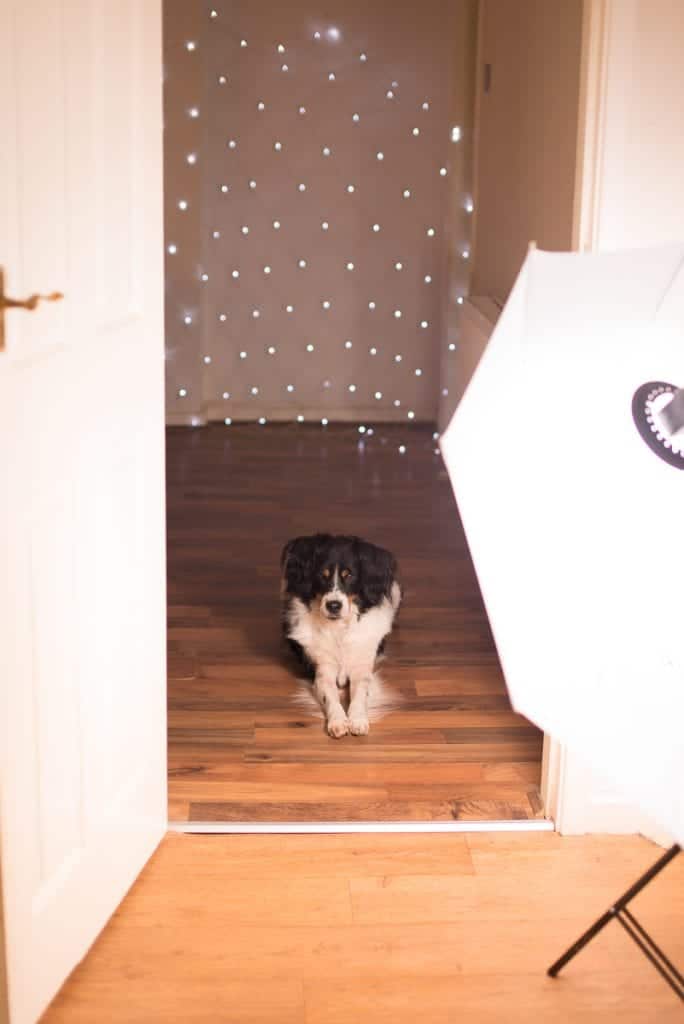
See how the light just touches the subject and then the light falls off and isn’t anywhere near the lights? That’s the ideal scenario!
Next, grab your lens! I prefer to use a 70-200 f2.8 lens wide open if possible but in smaller spaces something like a Sigma 50mm 1.8 lens would be fine. For the shutter speed, anywhere between 1/100 to 1/200 is usually fine, then I use the ISO to get the right exposure. And when you’re ready, shoot away!
You need to make sure that you are not overpowering the holiday lights with your artificial light from the strobe, or from natural light in the scene, so they need to be the deciding factor on exposure rather than our other, normal studio signifiers.
Not enough bokeh in the Christmas lights?
You need to implement our depth of field basic elements here. You can learn more about that on this post, but to keep it simple, widen your aperture (bring the number down!) or move your subject closer to you and further away from the lights. Those are the two things that will maximise your fluffy light circles.
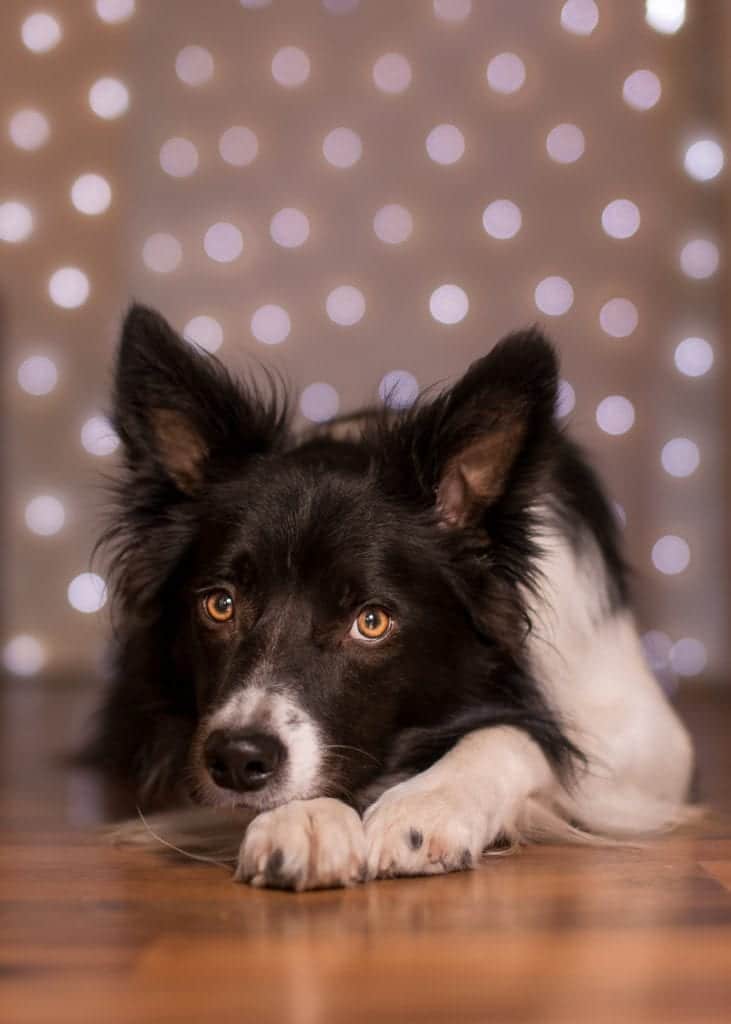
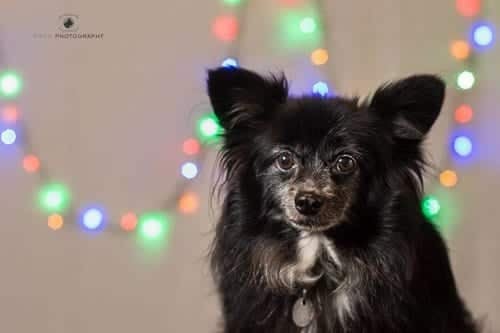
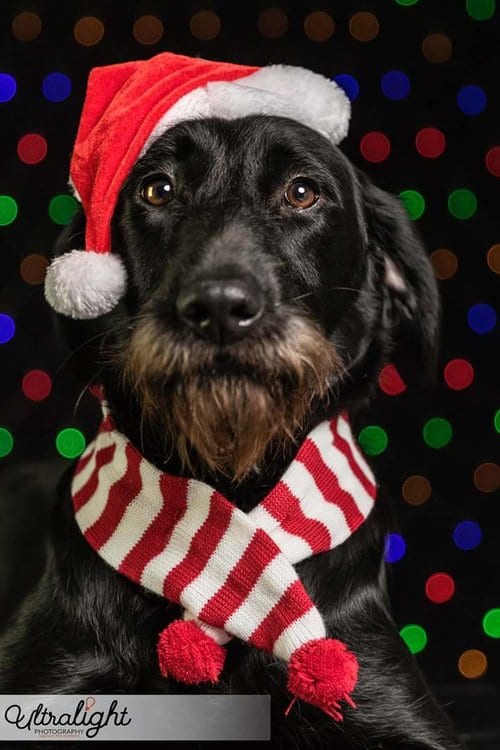
Here are a few more dogs with fairy lights from me here:

And of course, some of the students have had a go – how amazing are these shots!


Jess love this, you know what this means now….trip up to the attic this weekend to get the Christmas decs down 🙂
Anyone else cannot see the actual photos in the article?
Hey Angela, can you see them there now?