
Everyone is so used to seeing dogs that I kind of felt it was about time we threw some human skills into the pot because, well, humans exist too and, to be honest, even if you’re a dog photographer, knowing some human skills can be super helpful for when you have owner + puppa photos to do. So, this week we’re covering two human topics, the first is a simple and actually quite quick way of identifying and removing blemishes in Photoshop with the help of a simple adjustment layer. Let’s go:
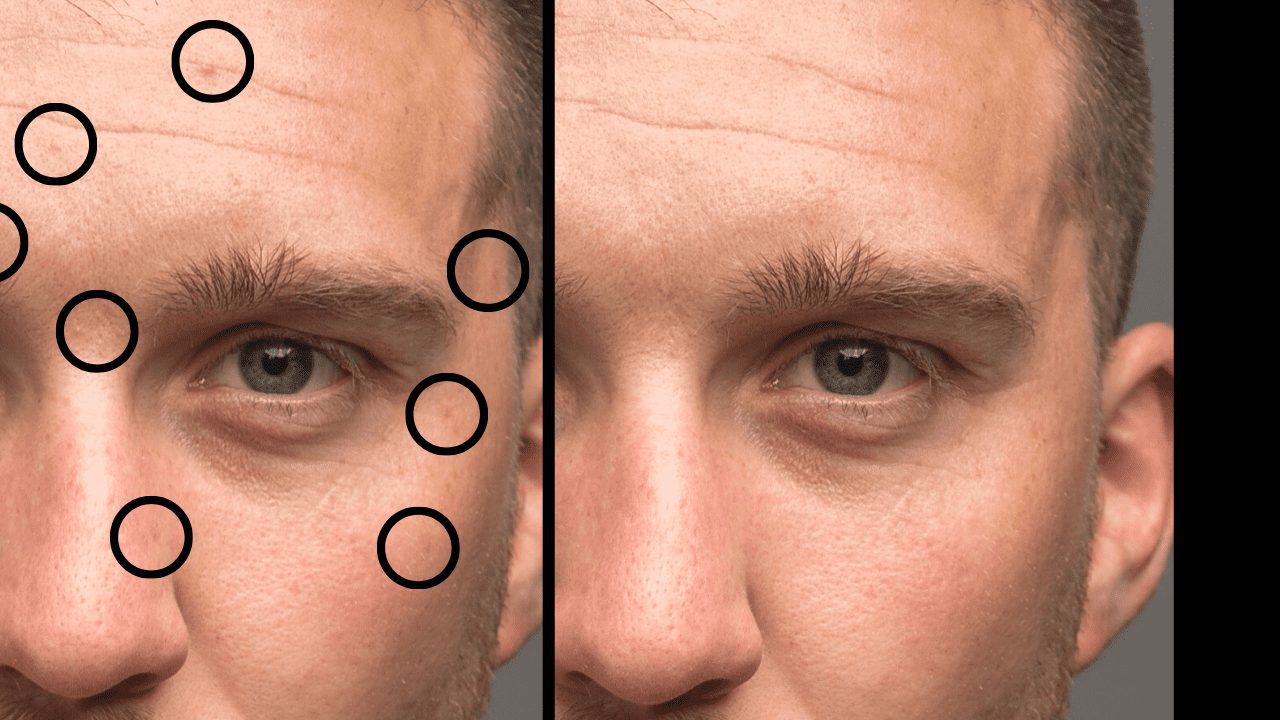
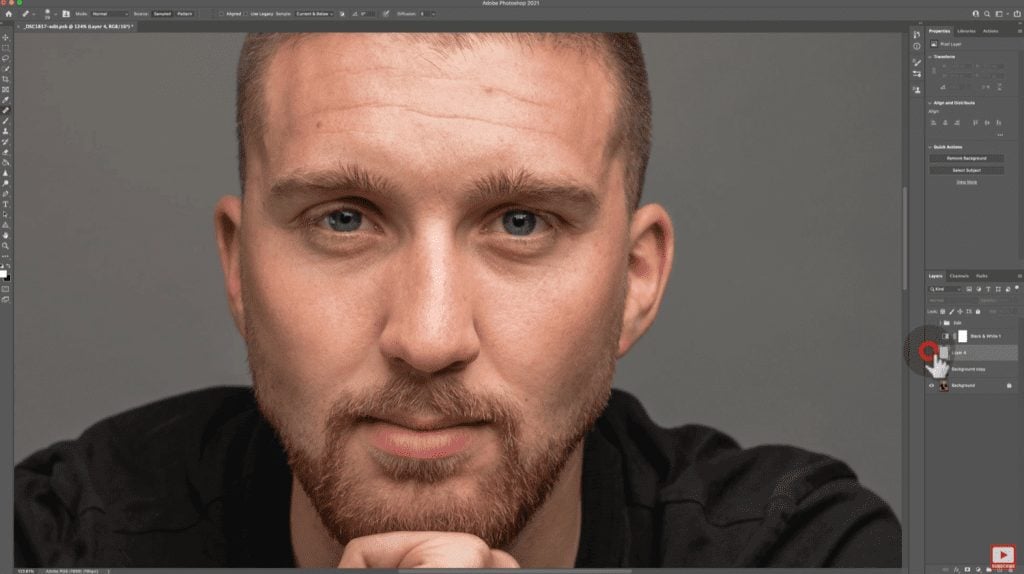
The end goal here is to end up with blemish free skin that still has all of the natural detail. Afterwards you can either soften, smooth or leave it just as it is. Sometimes blemishes are super easy to see – sticking out like sore thumbs on perfect skin, you can correct them in seconds. However, more often than not you’ll photograph normal skin, with normal blemishes and normal pigmentation changes. Because, you know, it’s normal.
Even then, it can be easy to spot the major blemishes, but much harder to see the ones that are sneaky little monsters lurking in the subtle depths of blemishland.
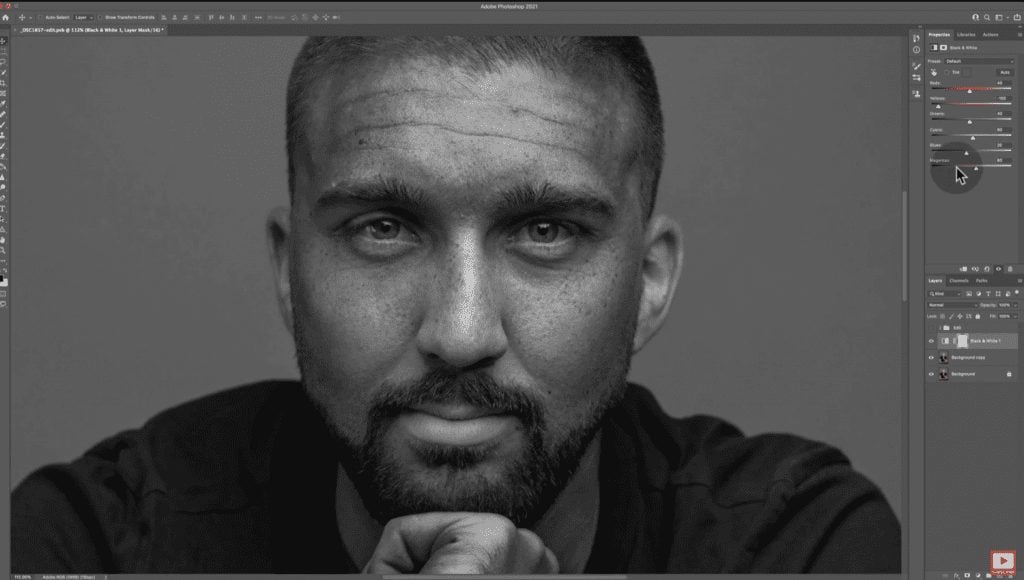
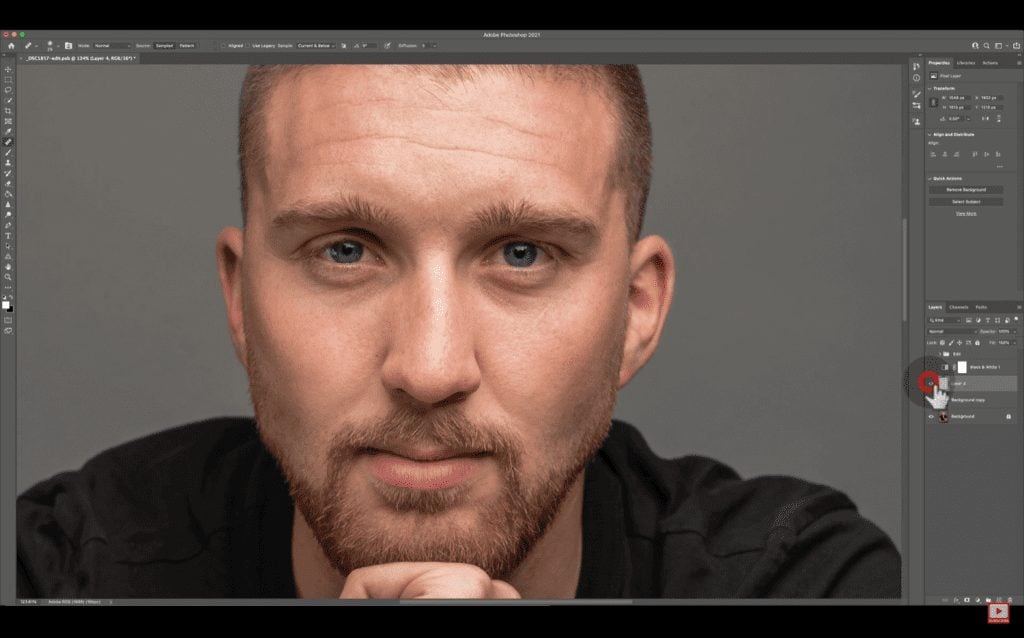
So to find these bad boys, we want to isolate some channels and because skin is a shade of yellow and red with lightening or darkening, we can find mismatches in the skin tone by isolating those channels (yellow, and/or red).
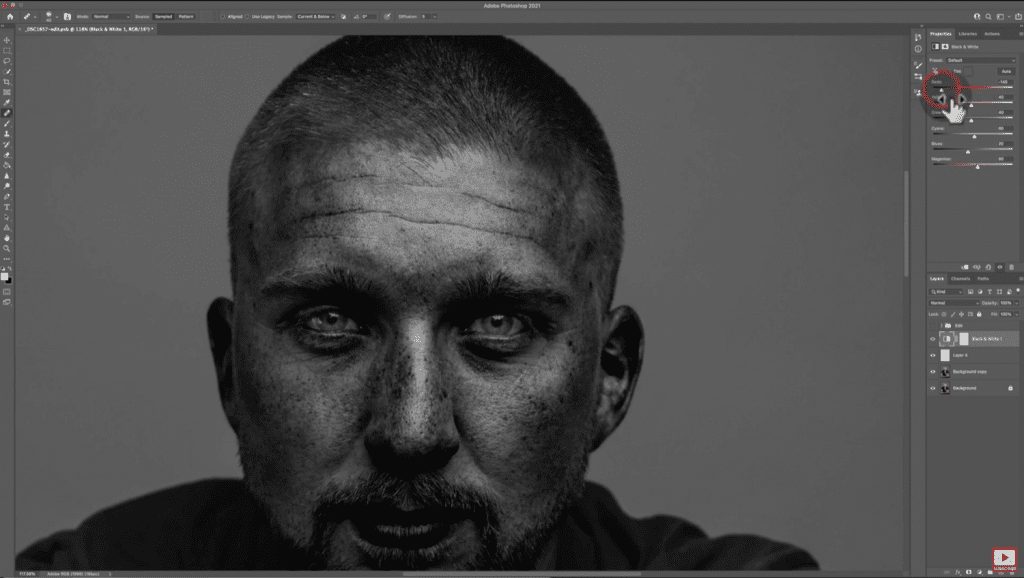
So, we just need to add a Black and white adjustment layer in photoshop and pull the yellow (or the red, or both) sliders left. This will make the skin look very wierd, but you can then, at this point, retouch onto the layer below the black and white layer (the layer with the actual face on it), to correct those blemishes.
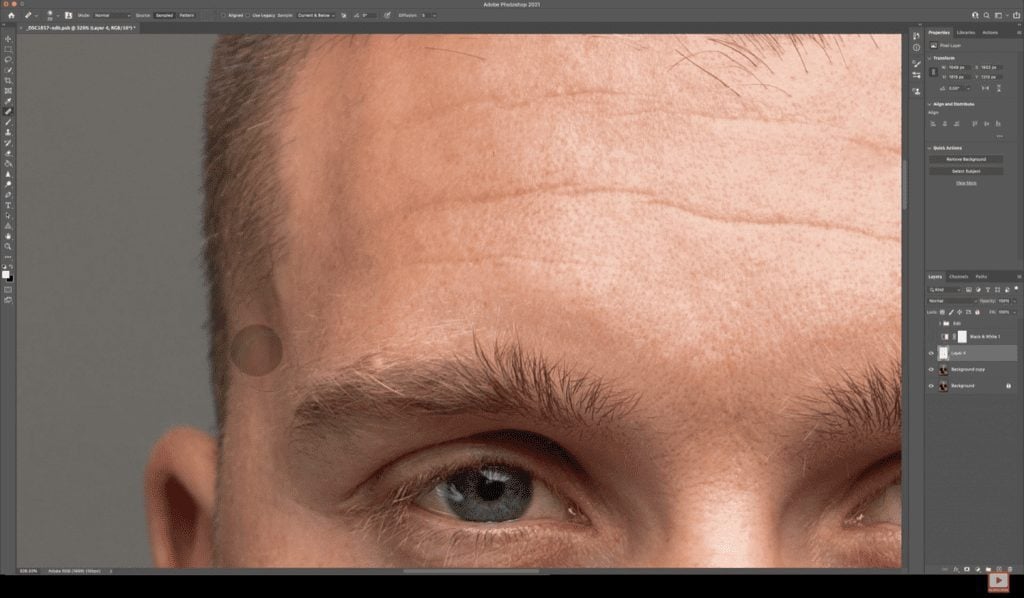
Personally, I prefer to use the healing brush tool because it retains the texture but blends the colour of the source to the target. Try it, you’ll see what I mean.
You’ll notice in the video walkthrough of this above that I do yellow first, then red. This is because often when I move both, my eyes get confused and I can’t work it out. Yellow gives me the imperfections first and then afterwards, red can give me the tonal issues. By doing both separately I feel more confident in the result, but you can do whatever you want to do!
When you’re finished, all you then need to do is delete your black and white adjustment layer and continue onwards in your edit.
Helpful? Please share & say so!