

Post updated: 17th November 2021
Have you been stuck on how to complete stellar dog action photography? Well, if you have, you’re really not alone. I polled the members of our Facebook Group asking what type of shot they thought was hardest to nail and the results speak for themselves…
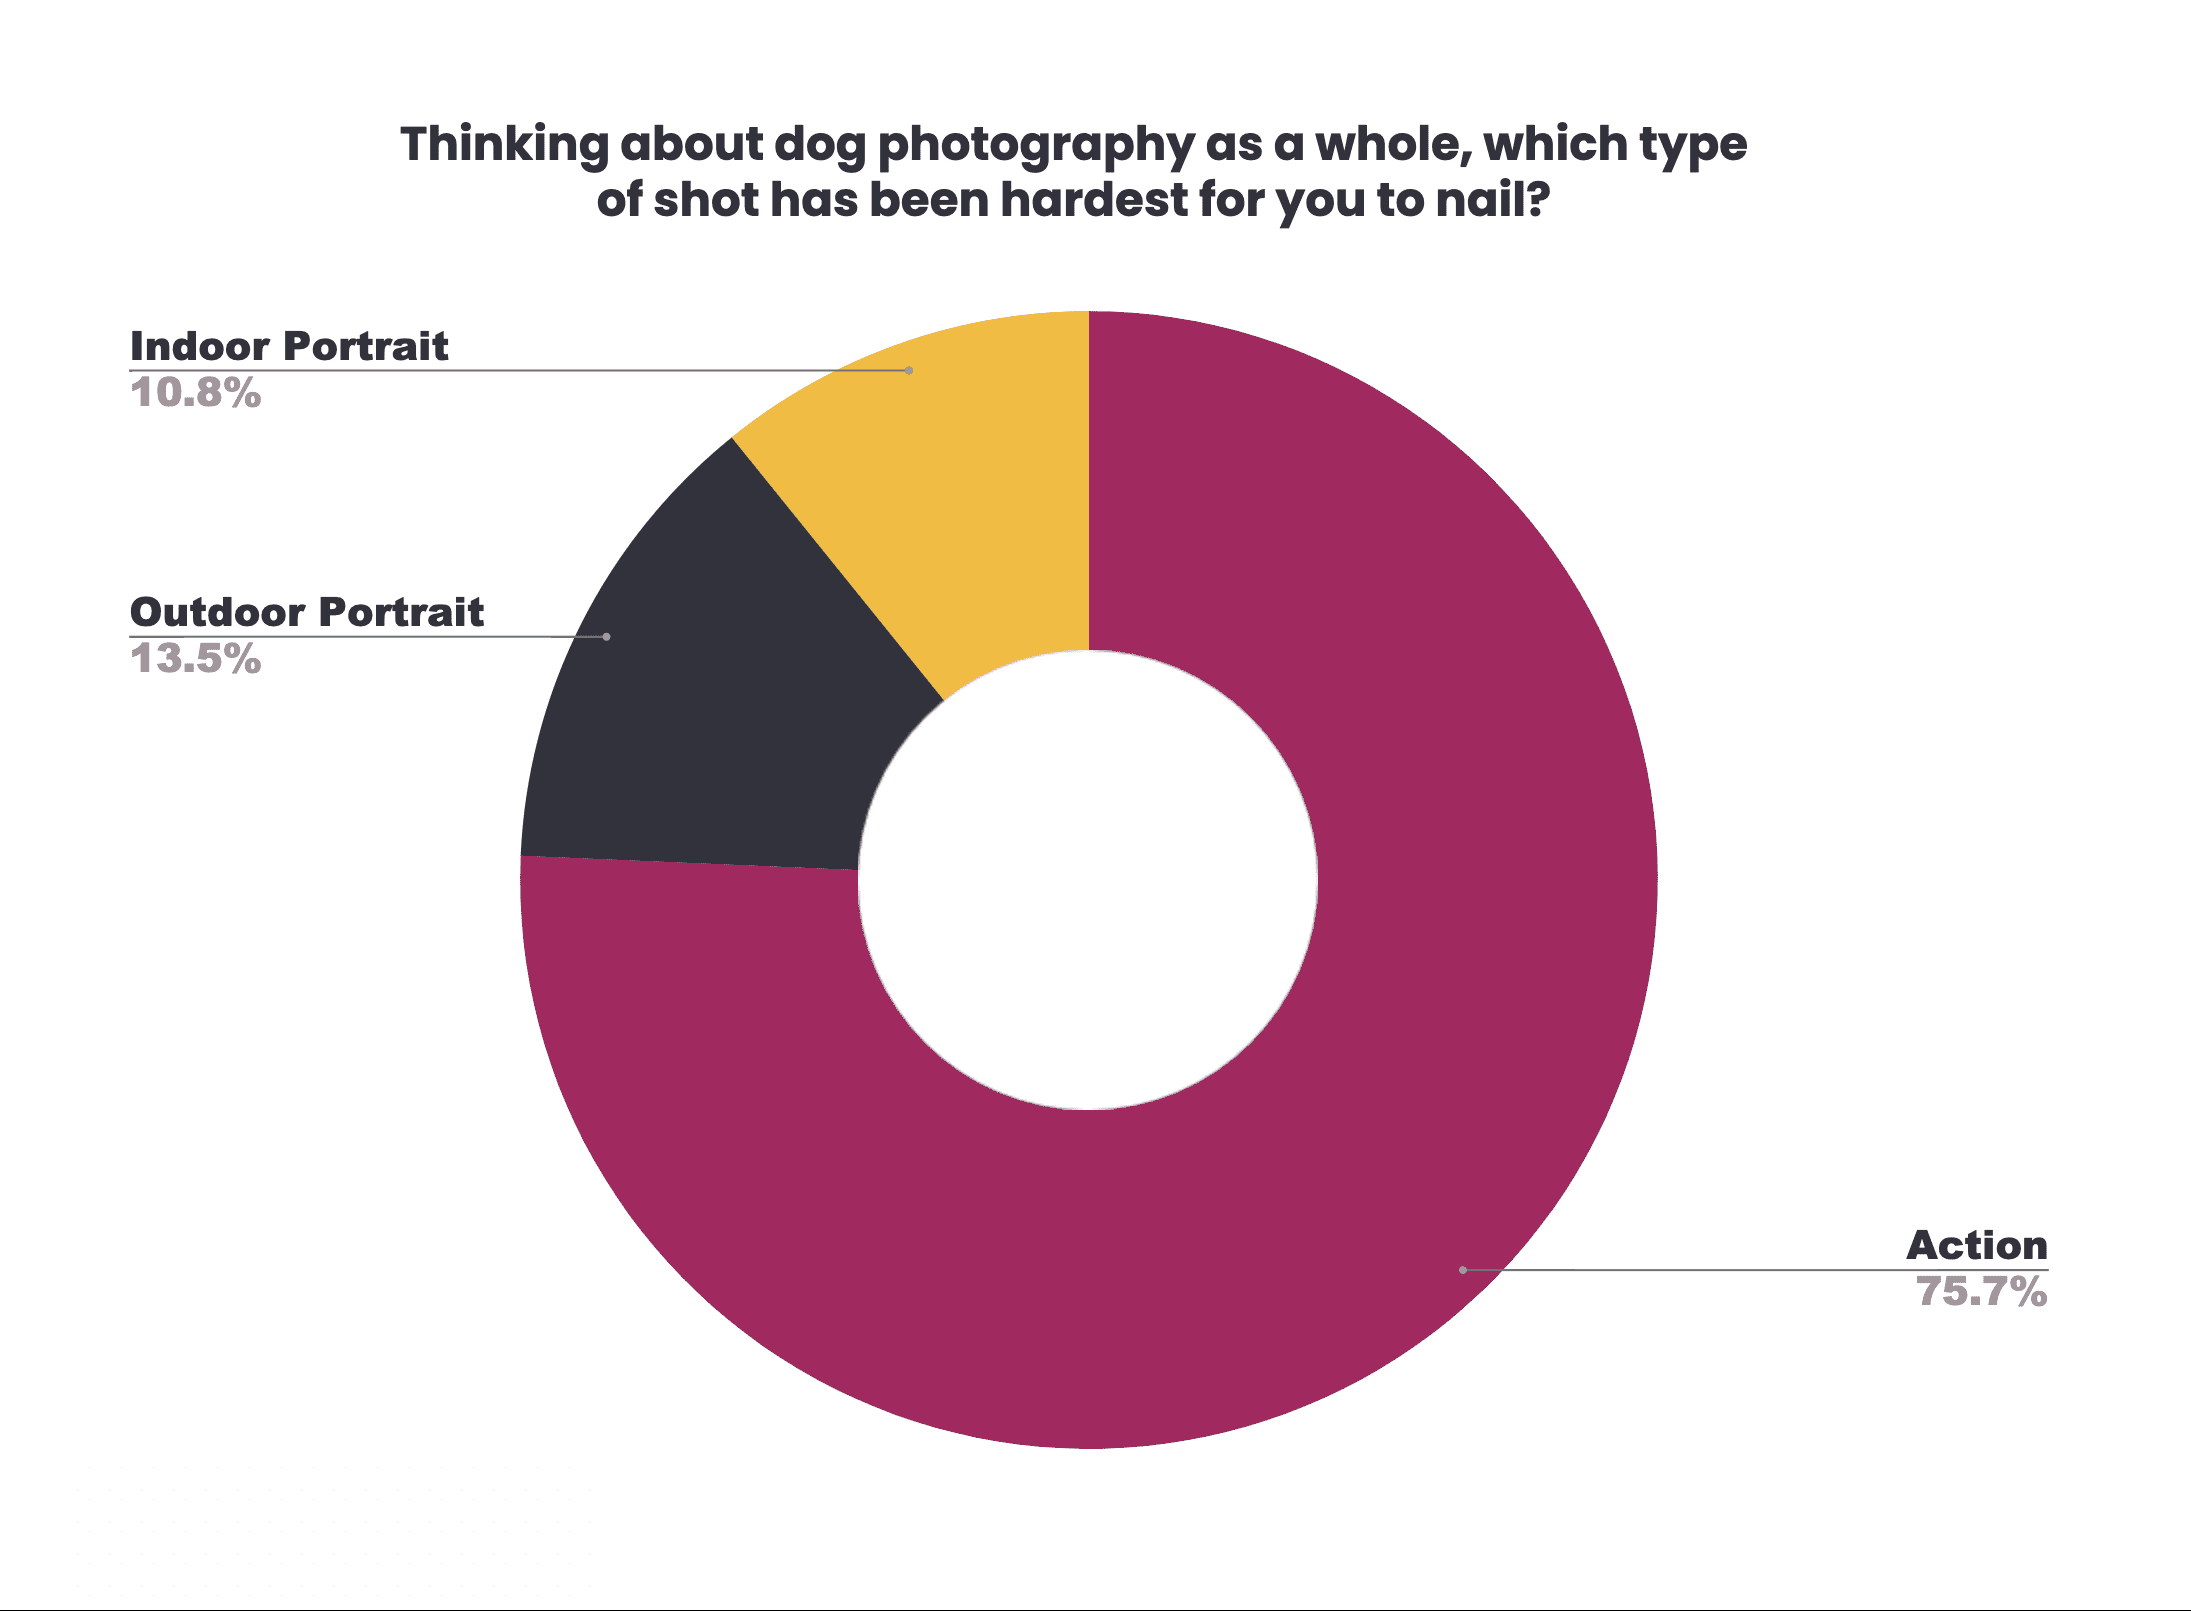
As you can see, dog action photography, specifically photographing dogs running, came out as number one by quite a stretch. And if you actually look at the situations we deal with, it’s easy to see why. Just to name a few, we’re dealing with:
- A living being with a mind of its own
- Often not a perfectly trained living being that follows every single teeny direction
- Something that moves erratically in different directions
- Moves at fast speeds compared to other subjects (like a human jogger, or similar)
- Has a small focus target to get the shot perfect (an eye)
- Can have coat colours that grab focus (spots) or make it incredibly difficult (black)
So yeah, it’s easy to see why this area of dog photography is really freaking tough. It also takes a lot of practice to reliably get right, and it’s also governed by your equipment’s capability too.
Contents of this post:
Section 1: The theory & settings for photographing dogs running
Section 2: The practical steps for photographing dogs running
Section 3: In application: how to photograph action indoors
Section 1: The theory & settings (for dog action photography)
I’m going to cover off 3 areas that will get you well on your wait to nailing dog action photography. If you don’t want to read, you can watch. As always, please do subscribe to the YouTube channel if you thought any of this was useful!
Let’s start at the top:
1. Hit Rates
Essentially this is kind of a disclaimer against your self-confidence. By hit rate I mean how many shots you can nail in a set number (say, 10) where the eye is in focus as the dog moves at speed.
A number of different things affect your hit rate. These include but are not limited to:
- Your ability to track the dog accurately (this is practice)
- Your cameras speed of focussing
- Your lenses speed of focussing
- The settings you use (we’ll cover those in a sec)
As the cost of your equipment goes up, the speed of the middle two tend to go up too – as a general rule. So that means that if you are using entry-level equipment, you can be the most accurate tracker in the world but you’re highly unlikely to achieve 10 out of 10 shots in focus. That’s just how the technology works. It’s sad, but it’s true.
With top spec kit, you should be able to achieve 10 out of 10 with the right settings. So if you’re not, that’s your tracking needing work, not the kit.

I hope this makes sense. Let’s move on to the actual settings you need to look for.
2. The settings for dog action photography
Let’s get into the nitty gritty. This section is going to be pretty specific to your camera body, so just head to either google or your manual to find the specifics of finding and changing what we mention. Let’s break this down further into things to find:
Focus mode:
Depending on the make of your camera, you’re looking for a derivative of the following:
- AF-C
- AI Servo
- Continuous AF
All of those make sure that the camera keeps on refocussing as long as your finger is holding down the focus button.
Focus area:
A bone of contention in the community, but as a general rule, you need to be using a small, single point that you choose and move within the frame. On different makes it’s called different things, but something like the following would be right:
- Single point AF
- Single spot AF
- Flexible Spot (small)
With this kind of a focus area, you manually move that point around and make sure you then keep it on the eye of the dog. For absolute beginners, I’d suggest leaving it in the centre of the frame, one point or two above the pure centre. As you get better at tracking, move it so that you keep your dog on the “rule of third” lines where possible. If you’re not sure what I mean by that, head to the composition post here.
Helpful Camera Things
Different camera bodies have different tools which can heavily influence hit rate. A couple of them can be found below:
Using Sony Cameras for Dog Action Photography
These cameras, especially the newer ones, have a handy tool called Eye-AF. This can be set to “animal” and it’s remarkably accurate. It will look for and grab an eye in the scene. If you’re using this, switch your “Flexible Spot” size to medium to give it a little more freedom to help you out.
You should not rely on this feature to get the shot for you. To become a great photography, you have to learn the skills and put the time in, ok?
Using Nikon Cameras for Dog Action Photography
In most Nikon cameras you’ll find a setting deep in the menus for Focus Tracking with Lock-On. This is a great feature because it holds focus if something passes in front of the camera. However, it also makes the refocussing sluggish and can reduce your hit rate substantially.
To find this, look in your settings for the title mentioned above, then alter the settings of the first slider to either 1 or 2, and the second slider, subject motion, to erratic.

You’ll see a pretty big change immediately!
Back Button Focus
This is personal choice but for me it’s a no brainer. It takes a little getting used to but having separate buttons on the camera, one for focussing and one for shooting, gives you more control and helps you out in holding for the “shot”.
Try it, you’ll see!
Drive Mode
Make sure your drive mode is set to continuous, multi-shot or continuous high. This means that when you press and hold the shutter button, your camera will reel off more than one single shot at a time. See the note below though – because spraying and praying is not the way to do this!
Section 2: The practical steps for shooting dog action photography
Ok so now we’re all set up, it’s to photograph dogs moving! Aside from everything you should already have done when you set up to shoot (head here for the 10 tips which are relevant to every shoot), you need to get your action head on.
After over 100 videos since the original video above was released, we thought it might just be time to cover the practical side of this. That’s what this video is all about and you can see what I see in the camera here too:
When you shoot, don’t spray and pray.
I had a few comments from people saying if the camera can, why wouldn’t you. The reasoning is simple and I’ll copy and paste my answer to those comments here:
With some sports, such as motorsports, reeling off 5-10 (or more) shots in a row as a group comes round a corner at speed is relatively normal. However, with dog action photography, usually you’re working with 1-2 dogs at a time in a relatively controlled setting. Timing is everything so knowing when to press “go” will improve your end shots, cut editing time and fine-tune your reflexes for the future. With one dog, 3 photo’s at any FPS is usually sufficient to get “the shot” if you’ve worked on your timing and are well practised. Often, canine sports photographers release less than 3 in event settings (agility, for example).
A higher FPS is different, that will just assist in capturing the wow shots in the same period of time (seconds) but still, you wouldn’t need to reel off more than 2-5 to get “the” shot with dogs. Any more usually means you need to hold, focus and work on timing in our experience.
As always, genres of photography need different things. The only time you’d reel off many many shots in a go is in greyhound racing for example, where there is a lot going on in a very small area so you can maximise your subject coverage in a short space of time.
And that’s pretty much it!
Go forth and shoot those dogs! (with a camera) ?
Section 3: How to photograph action indoors
Really, there is very very little difference from the previous section. The steps are still exactly the same, the only thing that I change is I usually just go ahead and set my ISO to auto. This is because when we’re working indoors we tend to be in a situation like an event, or a competition, or a commercial job (like us, here!). In those situations, the natural light changing throughout the day whilst you’re working will alter the exposures, so we just pop it to auto ISO and try not to worry about the scary numbers that are going to come out!
There’s a video on this here:
I mention in the description of that video that the ISO in this shoot varied from 5000 to 10,000. It didn’t once go below 5,000 and the images are absolutely fine for commercial use. If you shoot at high ISO like this regularly, you do need a great camera body that can handle the noise, but if the noise is still there at a horrific level, then consider Topaz Labs DeNoise AI. We have a whole section of content on that!
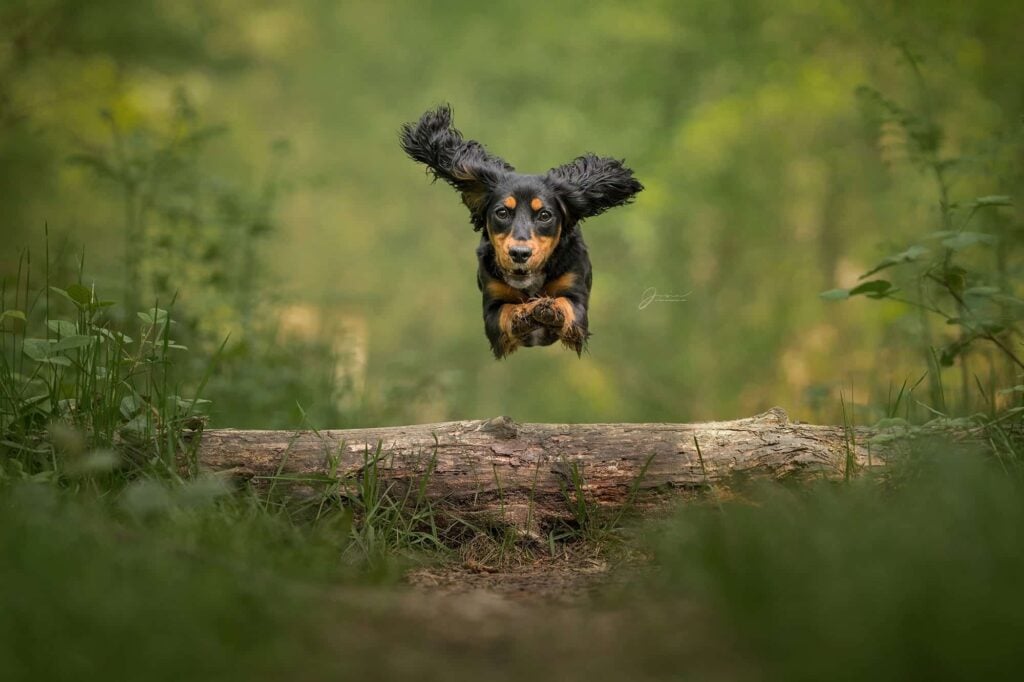
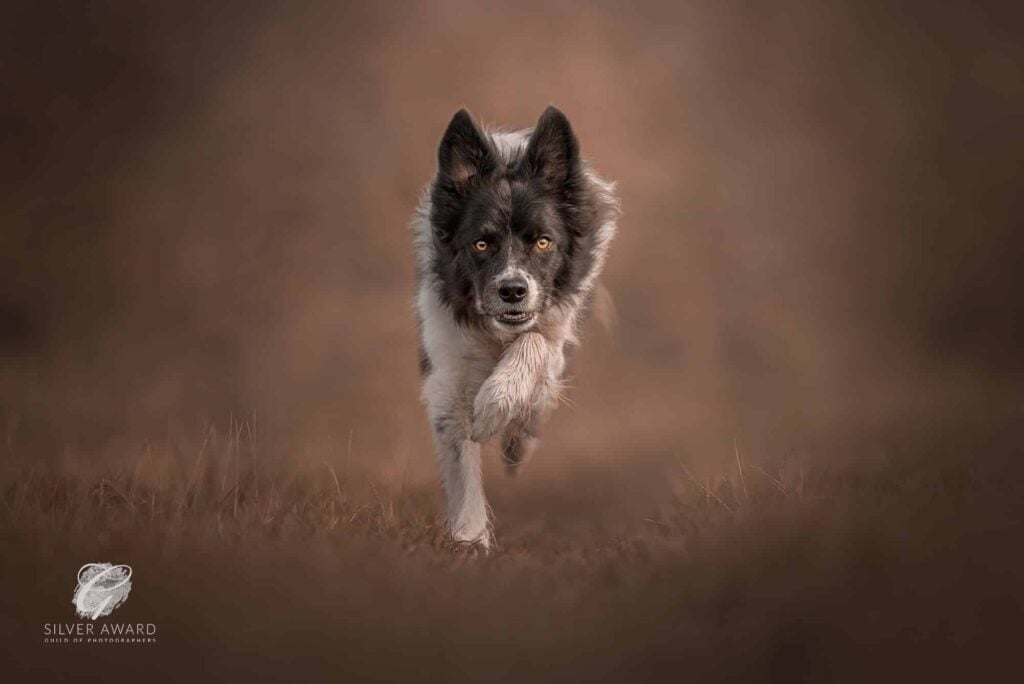
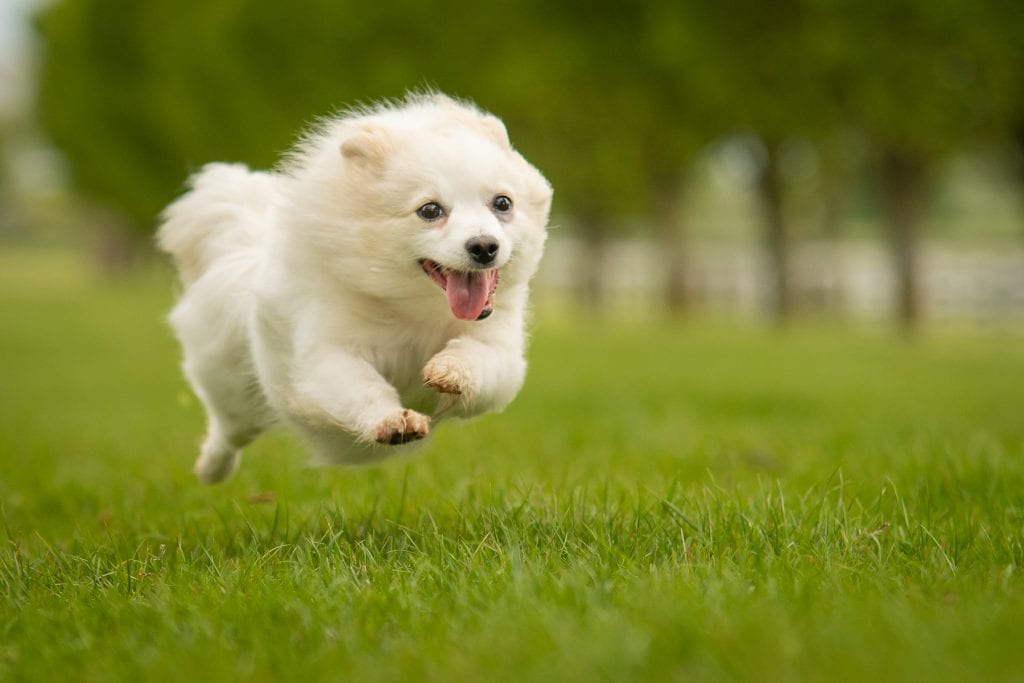
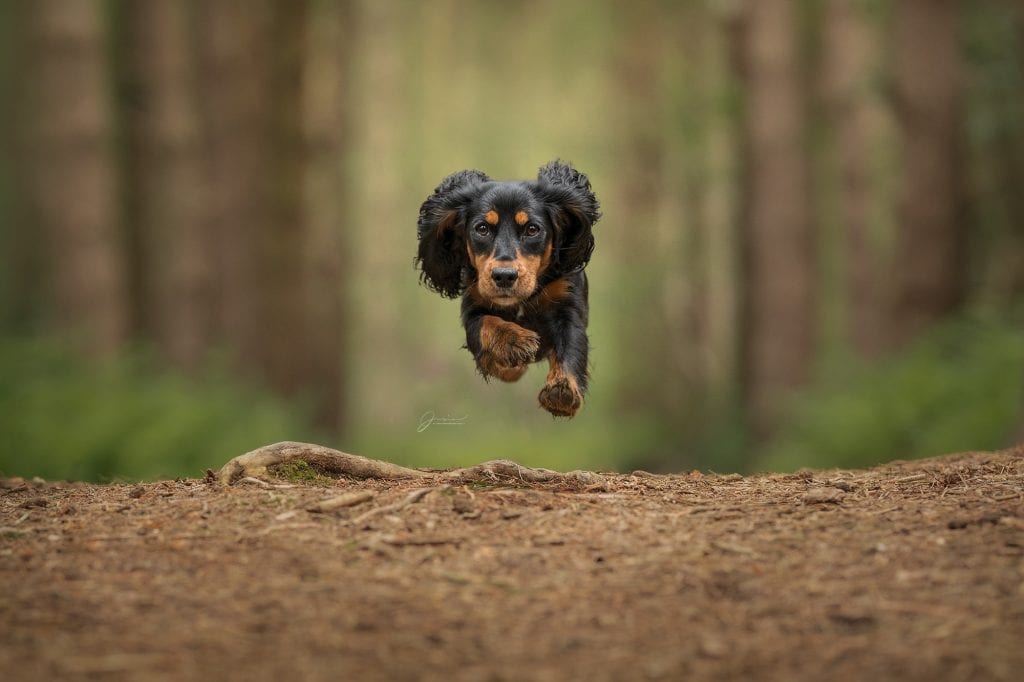
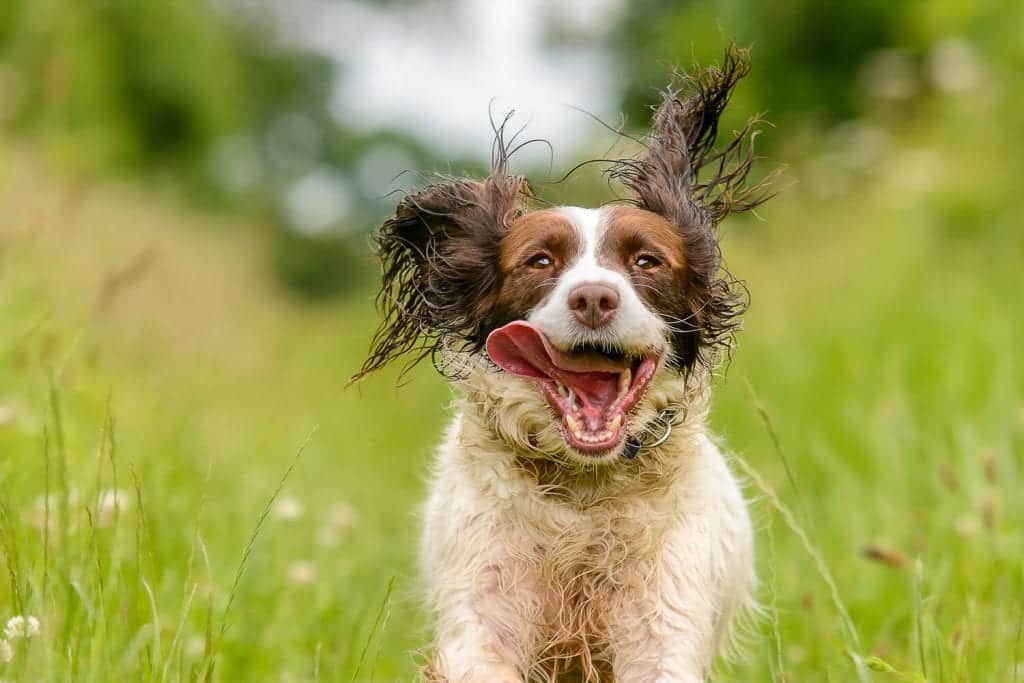
Some action pawspiration:

I submitted a question earlier about back-button focusing when photographing a dog in motion and feel silly now as this blog answered my question. Will look to this in the future before inundating your in-box.
thanks!!
Sue