
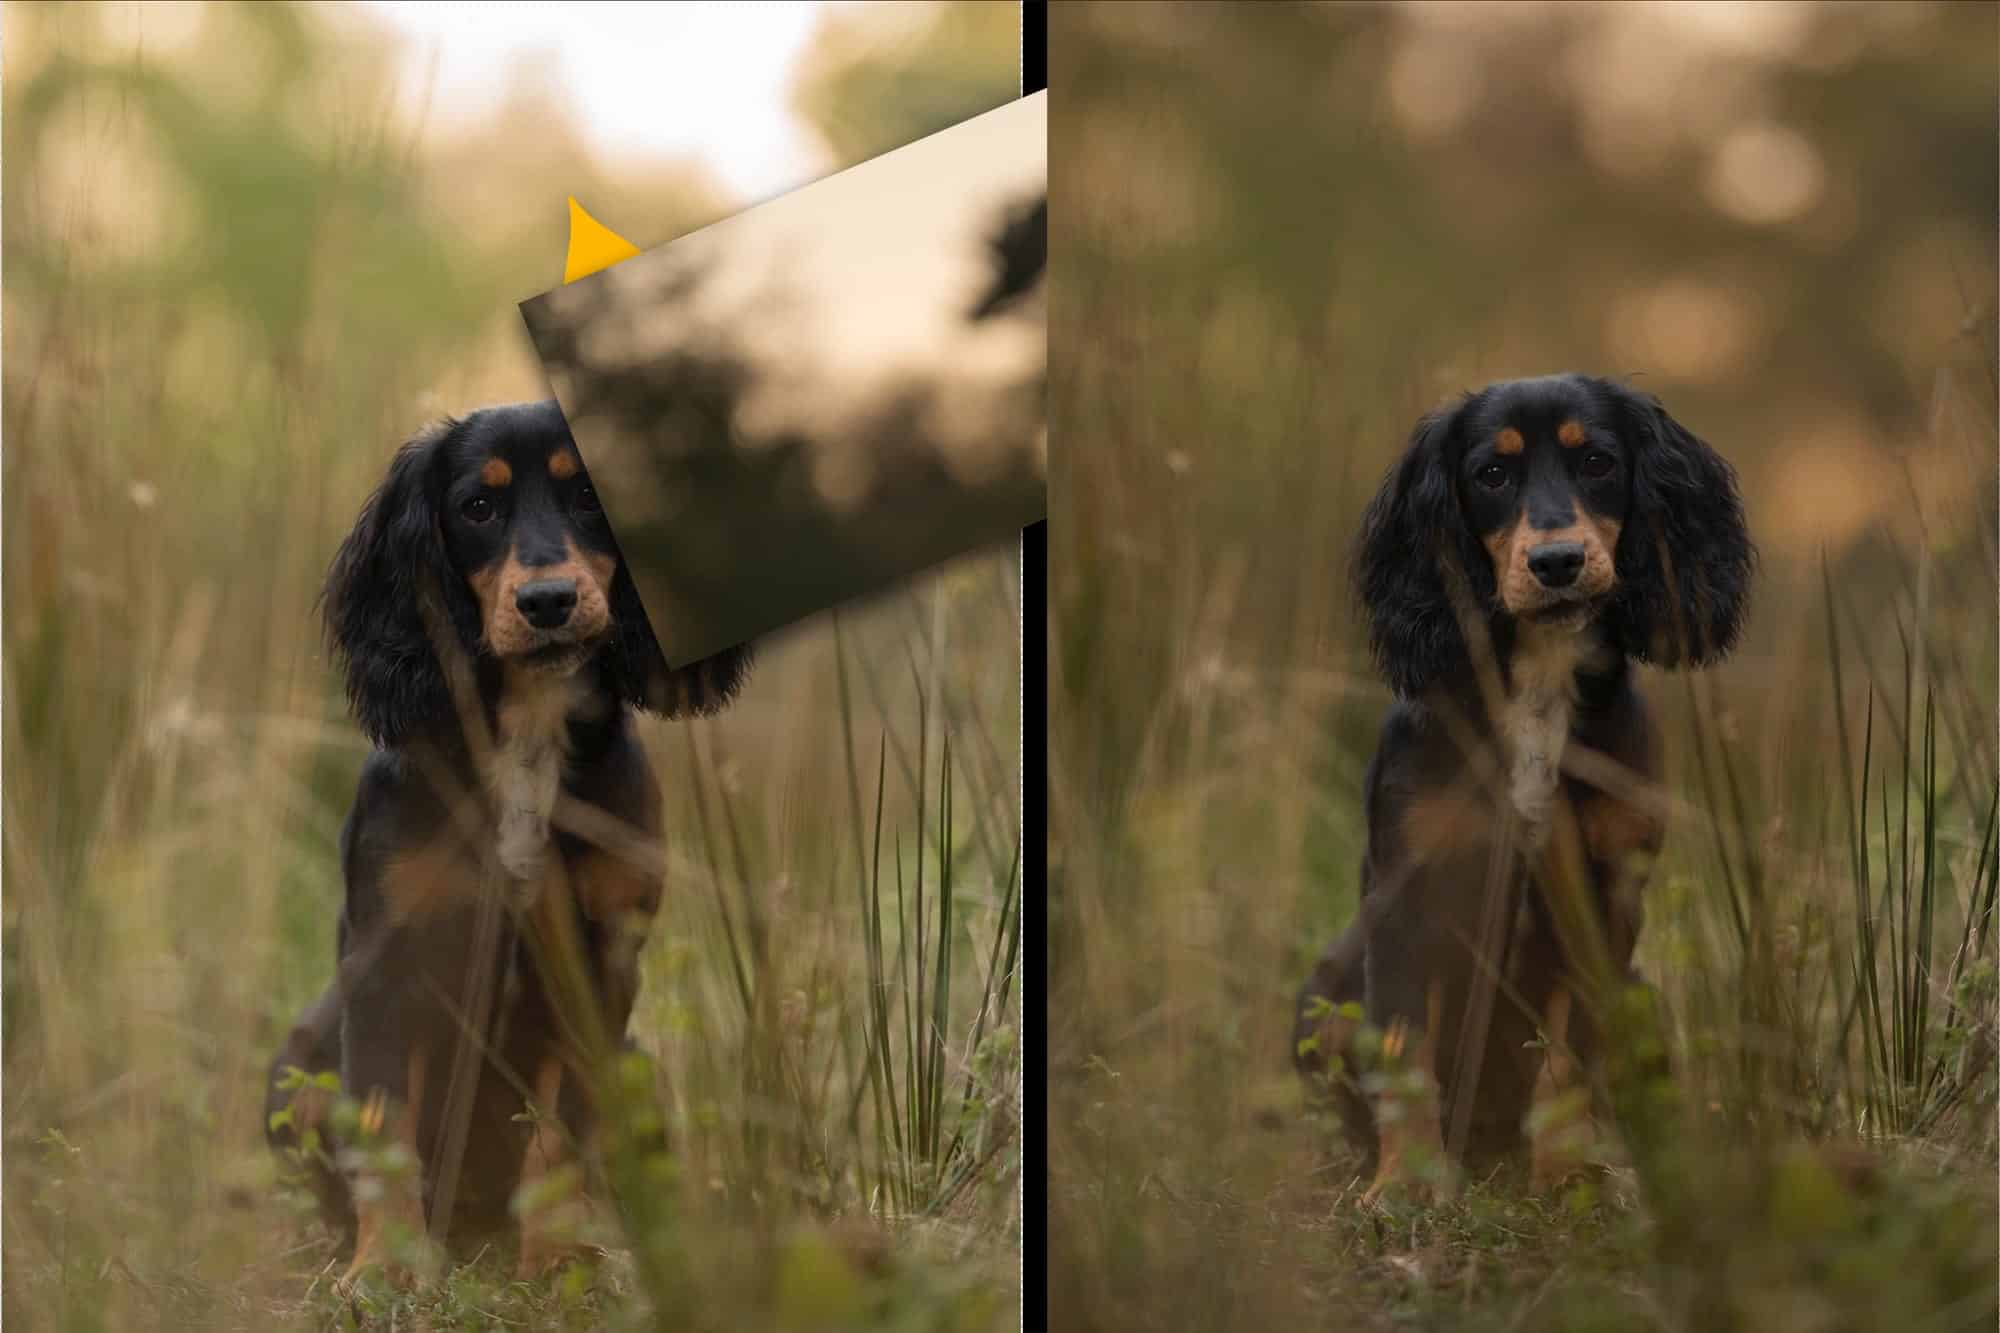
Remember the “how to shoot in golden hour” video? Inside that, I showed how two different ways to capture different exposures, one manual, one automatic. After that video went out, lots and lots of the community asked how to put them together in a way that looks realistic. The answer to this question isn’t straightforward and though there are many quick ways to do it, I personally am a control freak so I do things in my own little control freak way.
That way, with a semi-complex example, is here:
I’m in two minds here whether to write out all of the steps in that video with screenshots because, honestly, it’s going to take AGES and it’s all in there anyway. However, what I think would be useful is highlighting the key points and reasons why we’re doing certain things in this bracketing composite, so here we go:
The aim of blending exposures:
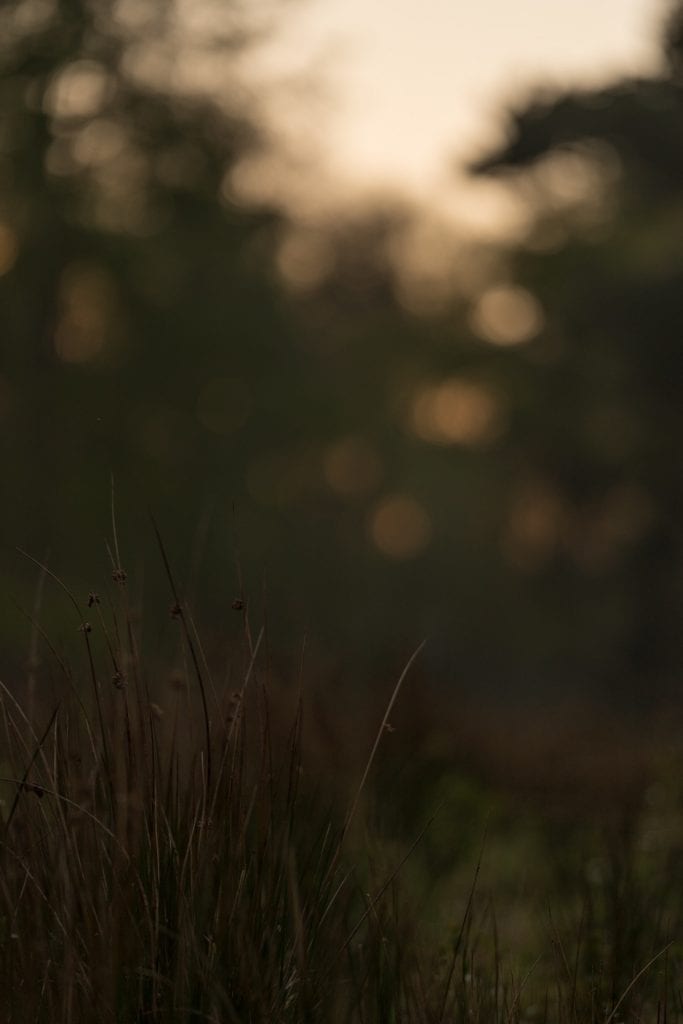
Why even bother in the first place, right? Well, cameras have a limited dynamic range, which we’ve covered before discussing histograms in photography, so in high contrast situations like backlight, we often have super dark shadows (often the subject, especially dark dogs) and super bright lights (the backlight and/or sky). So in these situations, we have to choose what to “save”.
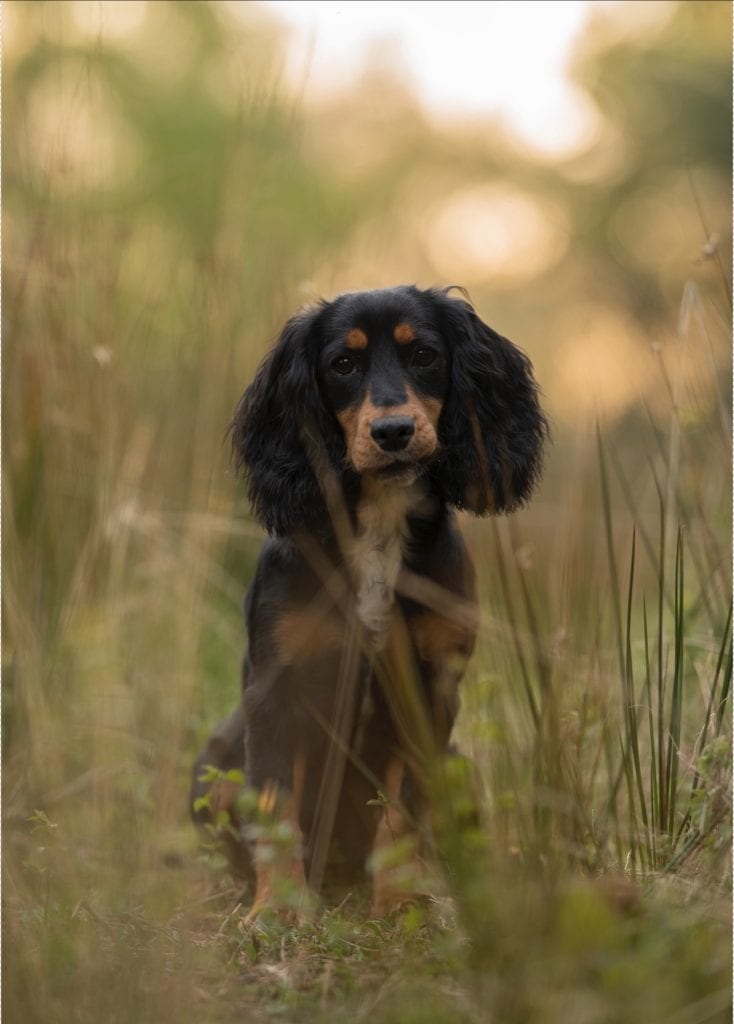
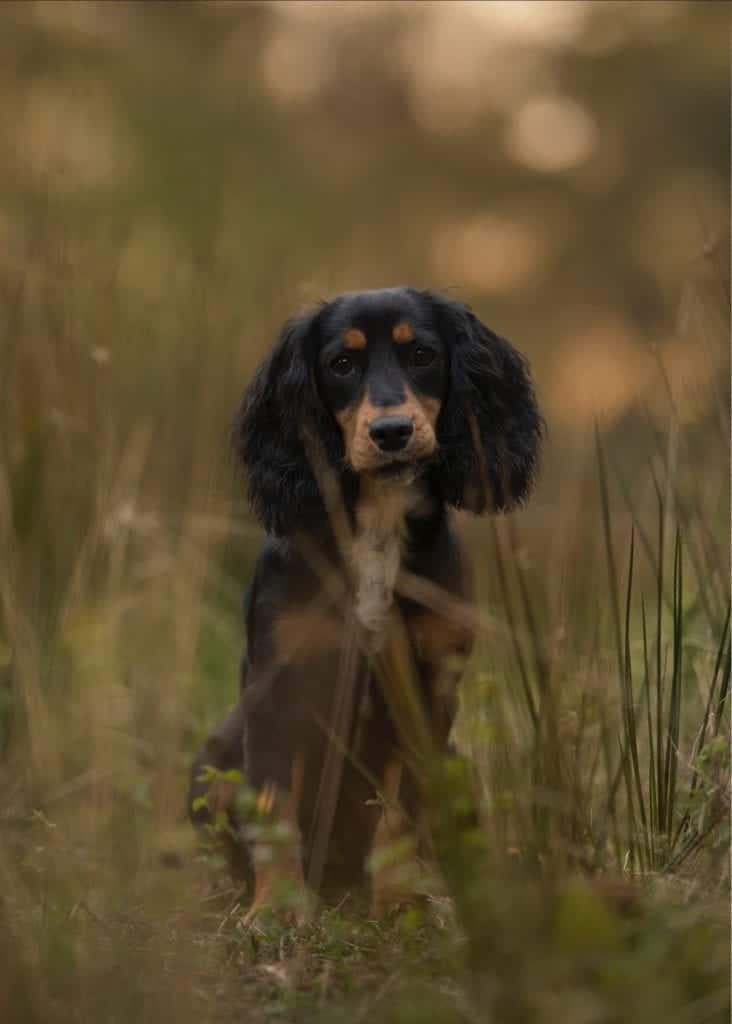
Do we save the shadows or the highlights? One will be lost when we pick the other, so by taking multiple exposures, some light, some dark, we have photographs with good exposures on those super dark shadows and super bright lights. By putting them together, we avoid any data clipping and end up with a technically sound image that will print perfectly and, hopefully, do absolutely fine in print competitions. Those two things would not be possible without lending the exposures.
Things to keep in mind when compositing exposures:
1. You’ll have a wide shift in exposure
If you just slap your dark bits over the blown out highlights, it’s going to look unnatural and false. Remember that we don’t want to just replace bright bits, we want to save the data in those areas, re-construct the dynamic range and end up with a nice, sound image. You should not just mask through the blown bits and leave it there – it won’t look right.
2. You’ll have to blend other bits of the image too
To compensate for point 1 above, you’ll need to blend more than just the “important bits” to make this work. The foreground and midground should be massively brighter than the bokeh – that just isn’t realistic. If you darken the natural light coming into the scene, you need to darken other areas of the scene to balance it out.
3. Remember what you’re doing this for
You’re blending these for a reason – to balance out the clipped areas that fell outside of the dynamic range on both the lights and the darks. Therefore, work on those areas as a priority and bring the midtones together to blend nicely. If you just focus on one or just focus on the other and leave the midtones mismatched, you’ll end up with an unrealistic finish that will always look just a little bit “odd”.
Try it, experiment and learn 🙂