
Depth of Field is a really important beginner’s topic in the theory of Photography because it impacts so much of an image, from the subject to the composition. In different niches, different depths of fields are prioritised and in portrait photography, shallow depth of field is a big thing.
But how do you control depth of field? What is depth of field? Never fear, I’ve got you.
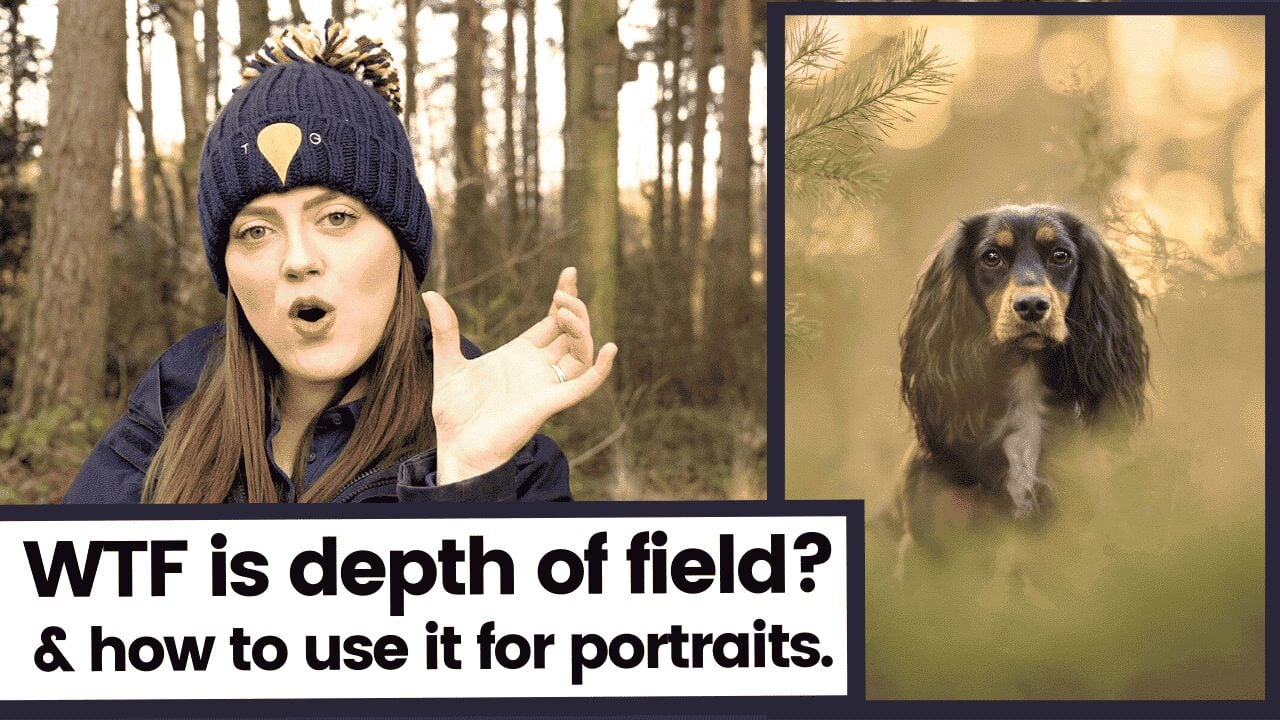
The video on this topic is here:
The behind the scenes plus additional shot set-up tips for the photo of Bryt taken on this afternoon (in the thumbnail!) can be seen by any active Member (MTog) in the MTog Vault.
To access this content and a load more extra bits, check out the info on becoming a member here.
What is depth of field
Depth of field is the amount of an image, usually measured in inches or centimetres, that is in focus in a photograph. The depth of field is a loose measure as it fades in and out at the front and the back, but the depth of field is usually sharp enough to be able to make out fine detail.
What controls the depth of field
Depth of field is controlled by a number of factors, including the sensor size in your camera. However, the main three things that we can control as photographers that alter depth of field include:
- The focal length – the wider the lens, the larger the depth of field
- The focus distance – the further the subejct is away from the camera, the larger the depth of field
- The aperture – the higher the f-number (the smaller the aperture), the larger the depth of field
The opposite of all of the above is also true.
- The narrower/longer the lens, the smaller the depth of field
- The closer the subject is to the camera, the smaller the depth of field
- The lower the f-number (the wider the aperture), the smaller the depth of field
A small depth of field is the same thing as a shallow depth of field.
What should you look for when photographing portraits
When we set out to create a portrait, the final result is completely up to you. Not everyone wants the subject to be the only clear thing in the image, but most people do.
(My Dad, for example, thinks I can’t take a good photograph because everything is blurry, even if the subject itself is tack sharp and crisp as a button – different strokes for different folks.)
To get this creamy background, you do need more than just a shallow depth of field – you need to pair it with distance. We’ve covered this before in our “how to get blurry backgrounds” video on the YouTube channel, which also touched on depth of field in relation to focal length:
If you pair your distances with the depth of field information, you should be all set to create a cracking shot.
So, whenever you set out to create a gorgeous portrait, think of these things:
- Am I using a long focal length? Could I use a lens with more zoom?
- Am I using a low f-number? Could I use a lower one and still get what I need to have in focus, in focus?
- Am I keeping the subject quite close to the camera? Could I move them closer and still achieve a good composition?
- Do I have a lot of distance between my subject and the background? Is it twice their distance to me or more?
By pairing all these things together, you can achieve a shallow depth of field and separation from the background, often integrating bokeh into the mix for fluffy Instagram-favoured photos.
Try it?
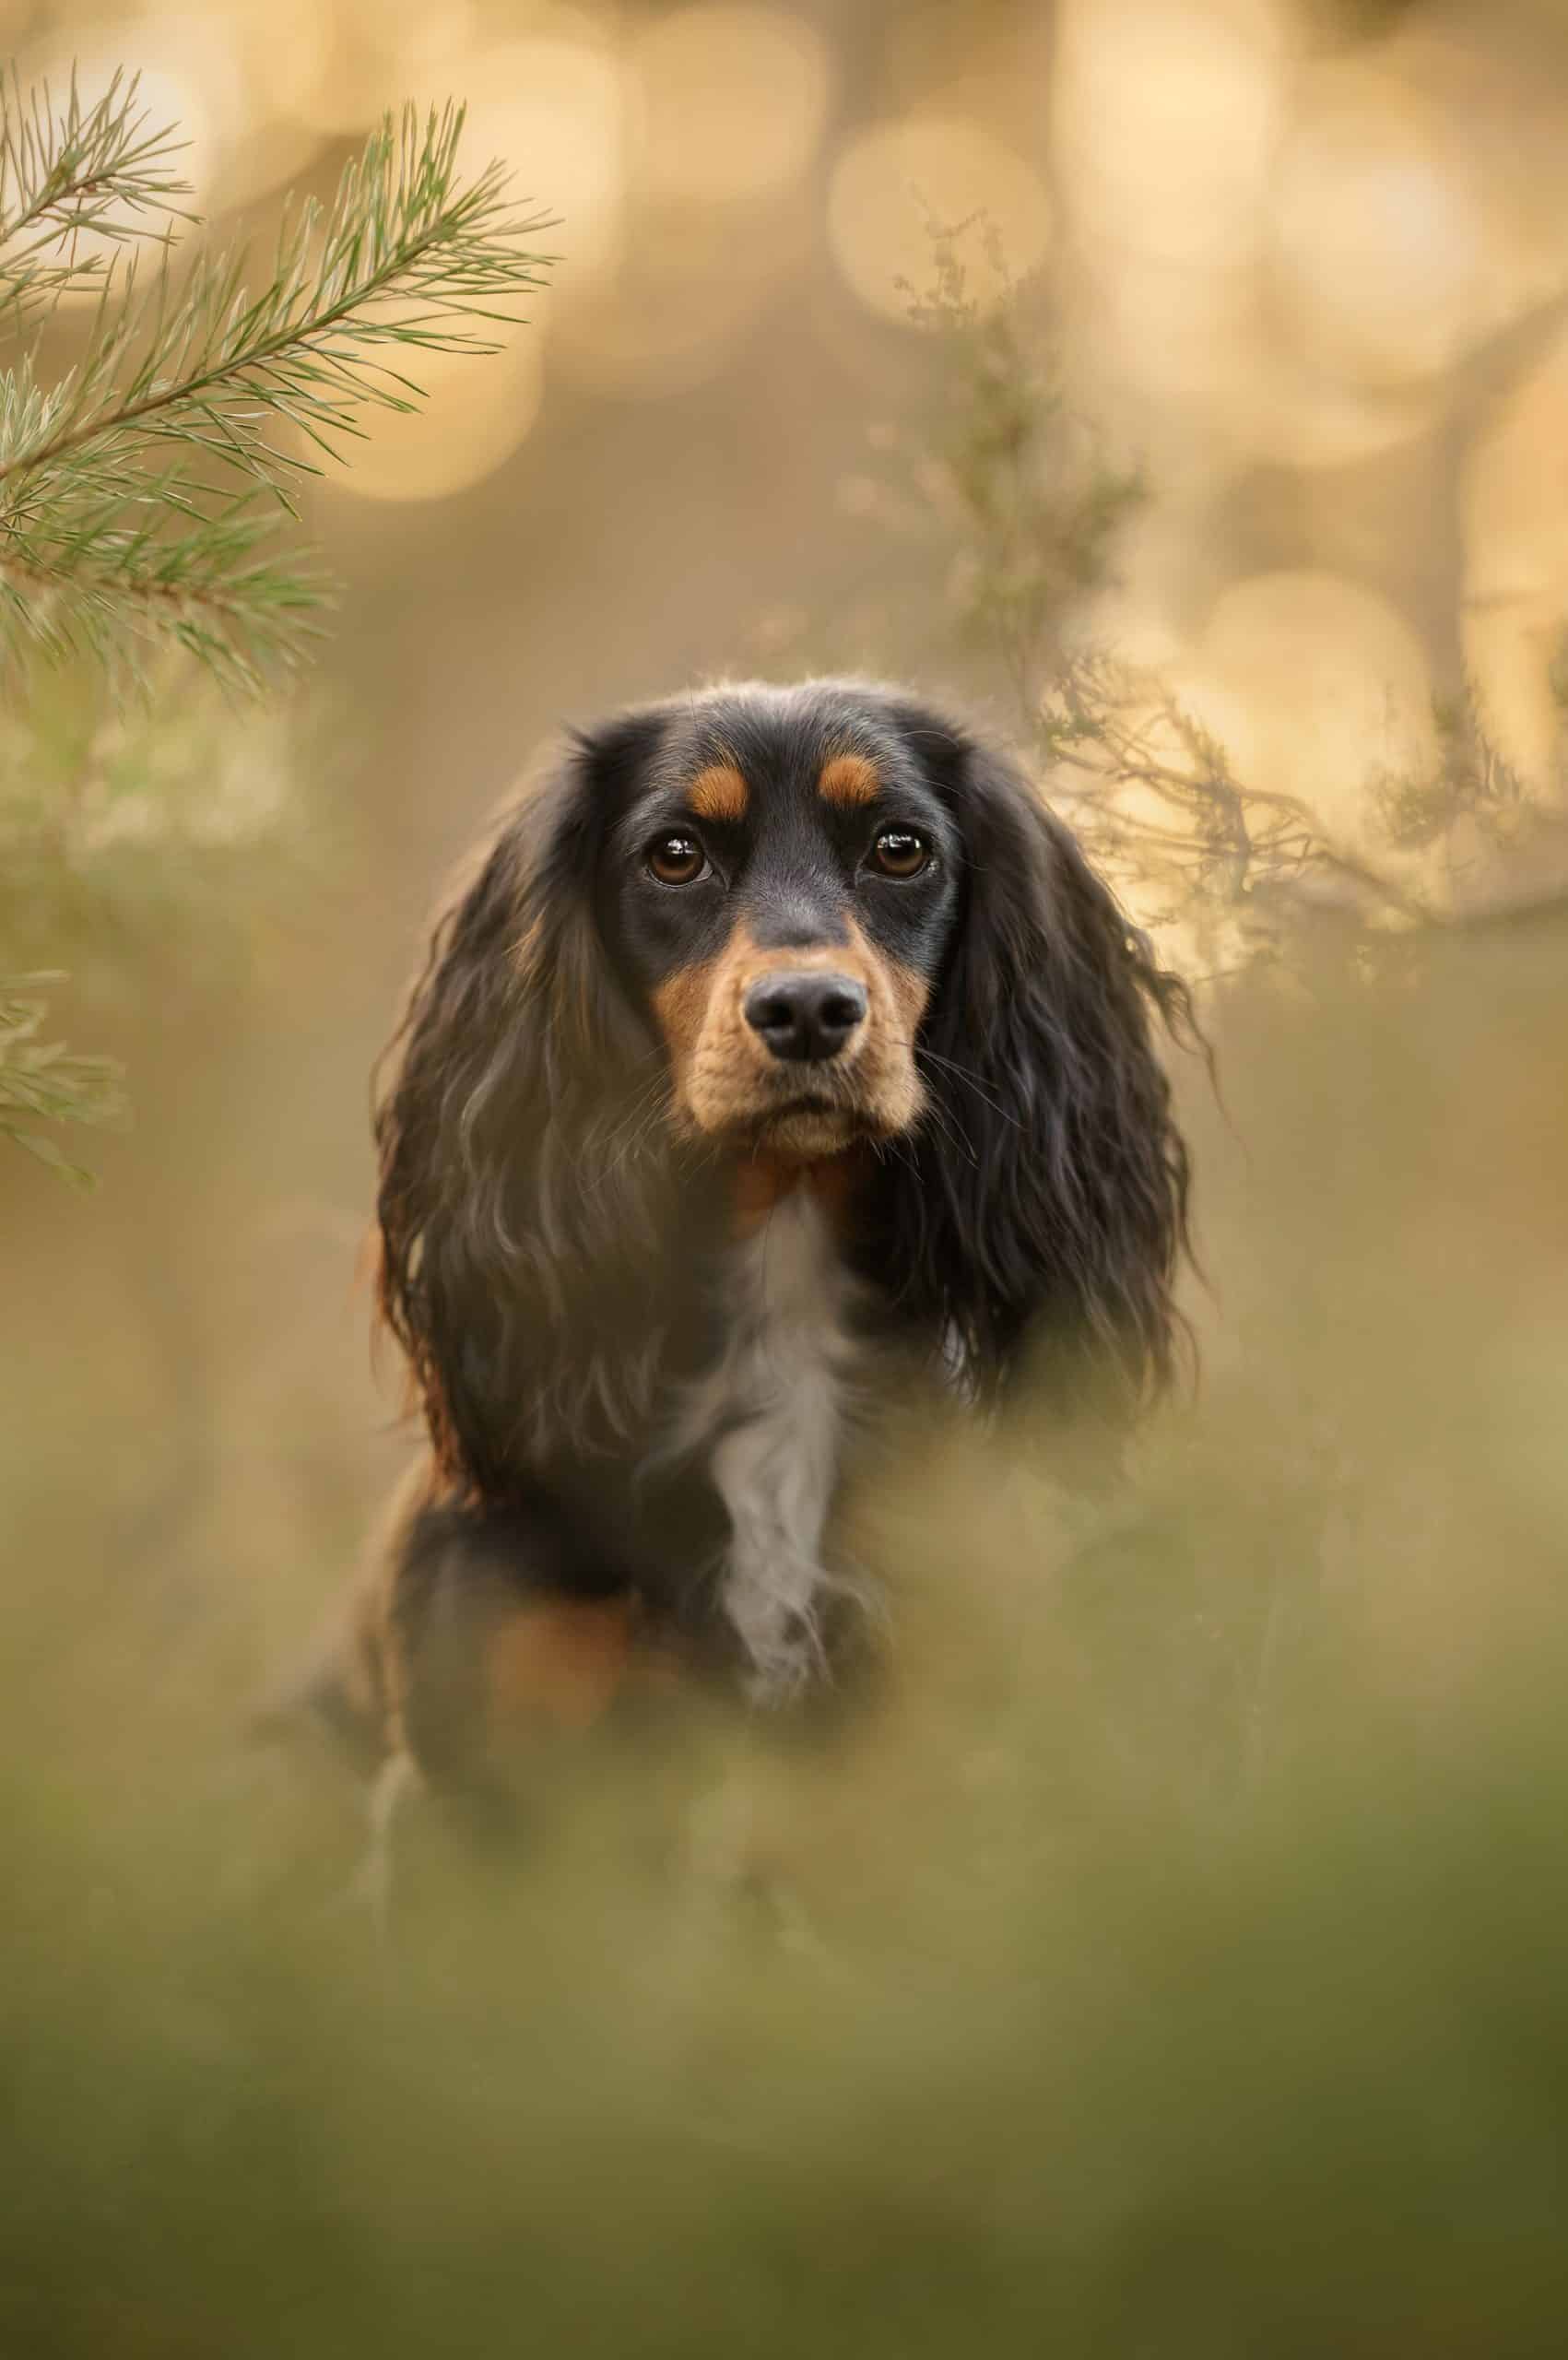
Here’s a photo of Bryt taken when this posts video was shot:
I’m just reviewing the DOF video for golden hour portraits. So much great info. I’m going camping and hope to find some great spots to try all of this out.
Thanks for sharing all of your knowledge.
absolutely beautiful photo of Bryt!
Loving the Jack Sparrow run at the beginning of the Bryt video ????