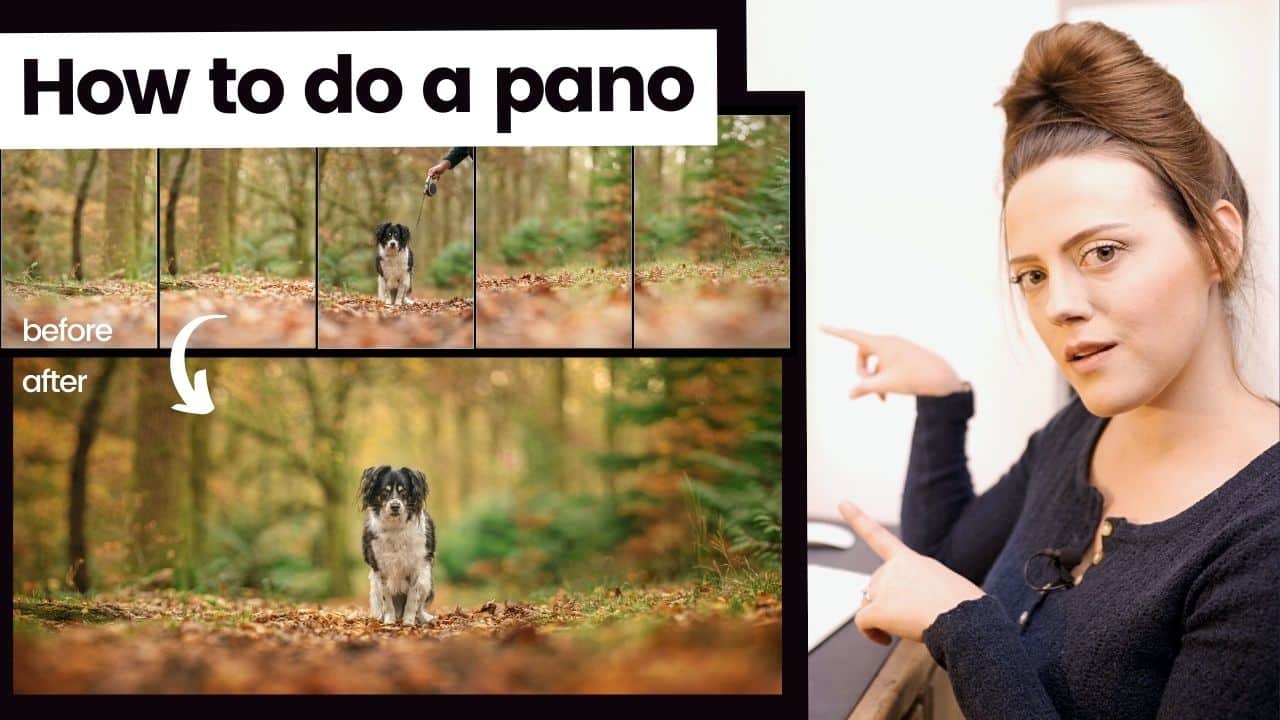
That was a long title but as it says, this post is all about the shooting skills for a killer pano and how to stitch panoramas in Photoshop (and Lightroom, kind of) using the methods that I personally implement. Everyone does things differently, this is just my way that I am comfortable with.
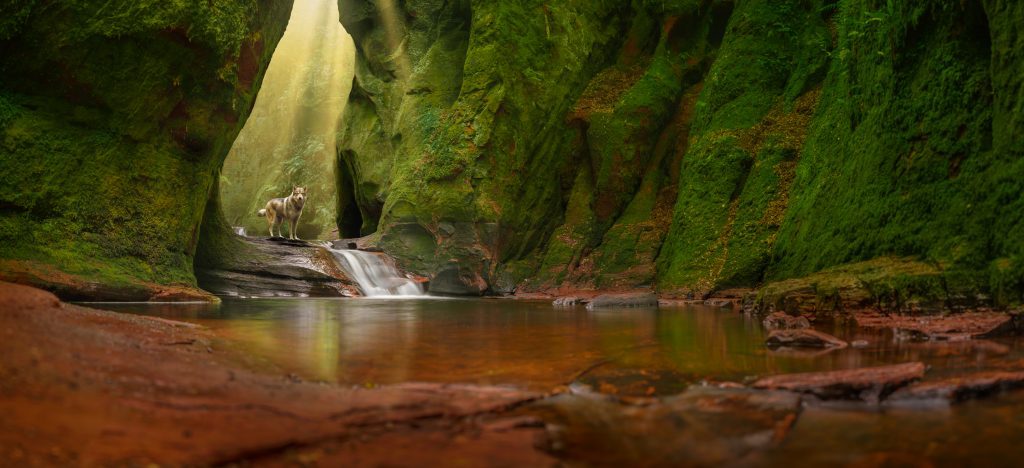
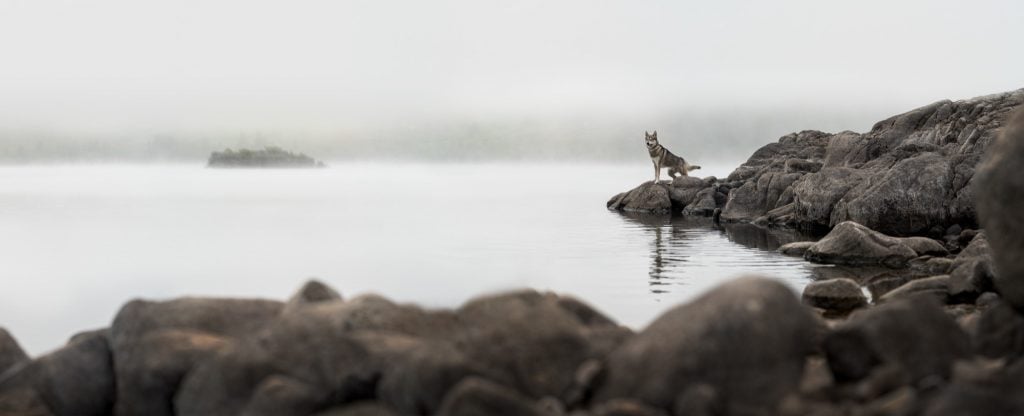
This post came about after launching the March 2022 Monthly Challenge, which was “Pano”. The inspiration for that challenge was Freki on the Loch:
Now, there is a YouTube video on this topic which will probably be easier to understand and follow than the text here. You can find the video right here:
Let’s start at the top:
What is a panoramic photo
A panoramic photo is one that:
- is at least 2 times as wide as it is tall (or 2 times as tall as it is wide) with a ratio of 2:1 or greater
- usually uses multiple frames/photographs and stitches them together
- captures a wider field of view than can be traditionally captured in one exposure
- is usually reserved for landscape photography
The above definitions are flexible, everyone has their own take on what a panorama actually is, but for me, a 2:1 ratio or greater is the must-have. Multiple frames is a good skill to learn but you need to practice some skills which we’ll discuss now…
How to shoot a panorama photograph
To shoot a pano you first need to have a scene worthy of a pano. Most panoramas are landscape photographs but I personally believe that we should learn from other niches and try new things, so don’t feel like you HAVE to be stood at the foot of a waterfall, or on the peak of a mountain, to break our your pano passion. The important thing is that the scene has interest and there is a reason why you’re showing a wider field of view – is there interest there? If there is, continue onwards.
There are lots of things that will help you to capture a fantastic pano:
- A good, solid knowledge of your exposure triangle
- A good understanding of composition
- A tripod (optional, but advised)
- The ability to not refocuss between frames (implement back button focus or switch the lens to manual focus after focussing initially)
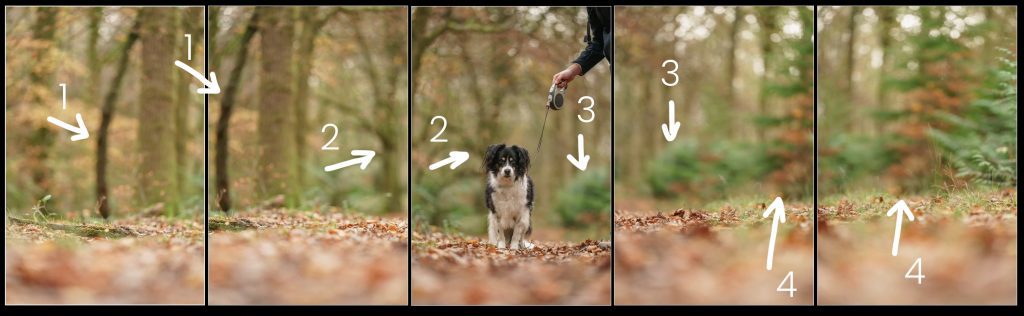
- An overlap between frames of around one third (1/3) to help your stitching tool
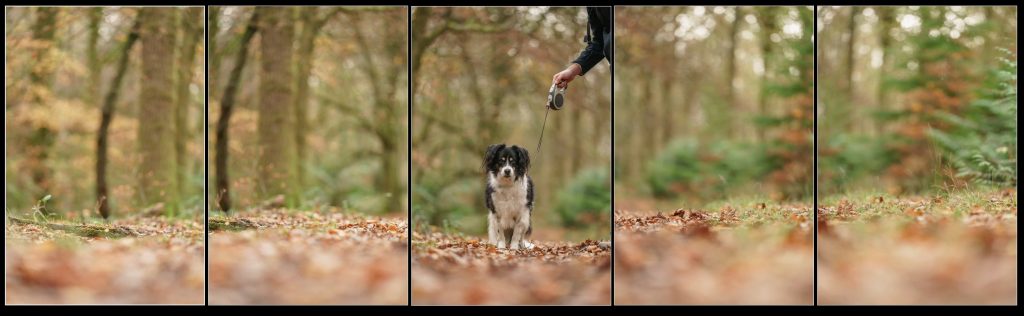
Next, you’re going to want to start to shoot, hold steady, focus on your primary subject and shoot the first frame. Turn the focus off and move the camera carefully to capture a new area but retain around one-third of the previous frame in the shot. Shoot the second frame. Continue for the width of your pano shot. You should end up with a set of RAW files that look a little bit like this – a tripod would remove the up/down variation in the frames:
How to stitch panoramas in Lightroom Classic
If you’ve shot your frames well, aligned nicely with a good overlap, stitching in lightroom classic is very, very easy.
- First, prepare your files so that you can “see the scene” from one side to the other in the frames, like the example above
- Next, ensure you have selected each of the frames you want to use in the pano. Hold Command (Ctrl on windows) and click each image so that they are selected
- Right-click on one of the images and choose Photo Merge -> Panorama…
- In the window that appears, experiment with the checkboxes and pano profiles until you see a result you are happy with
- I personally like to “stack” my images that are included in a pano, so you can select this check box if you want to
- Run the pano – it will take a little time to output the panorama photograph, so give it a second and have a cup of tea
That’s it, it’s very simple.
How to stitch panoramas in Photoshop
Kind of similarly straightforward, depending on how much input you want to have in the process here. I always start by doing step one and two from the Lightroom steps above. Next…
- Right click on one of the images and choose Edit in -> Merge to Panorama in Photoshop
- The window that appears will be in Photoshop, and you can just leave the default settings checked to end this process right here OR you can be a bold human and get more involved. The advanced steps are therefore:
- In the window that appears, deselect “Blend Images Together” – we want to control the blend
- Check the next two boxes down if you want to, it is good if you have heavy lens vignetting and distortion – Press “OK”
- Photoshop will open each of the frames as layers, then align them for you. Now it is just up to you to mask and fill each layer as you’d like to finish the panorama
Of the above steps, if you are not experienced or advanced in Photoshop or digital retouching, I would recommend just doing step one and two. If you are a fabulous retoucher, or at the very least, adept and confident in masks, layers, fine clean-ups, canvas extensions and so on, feel free to go all out!
That’s kind of all there is to Panos, don’t be afraid of them!
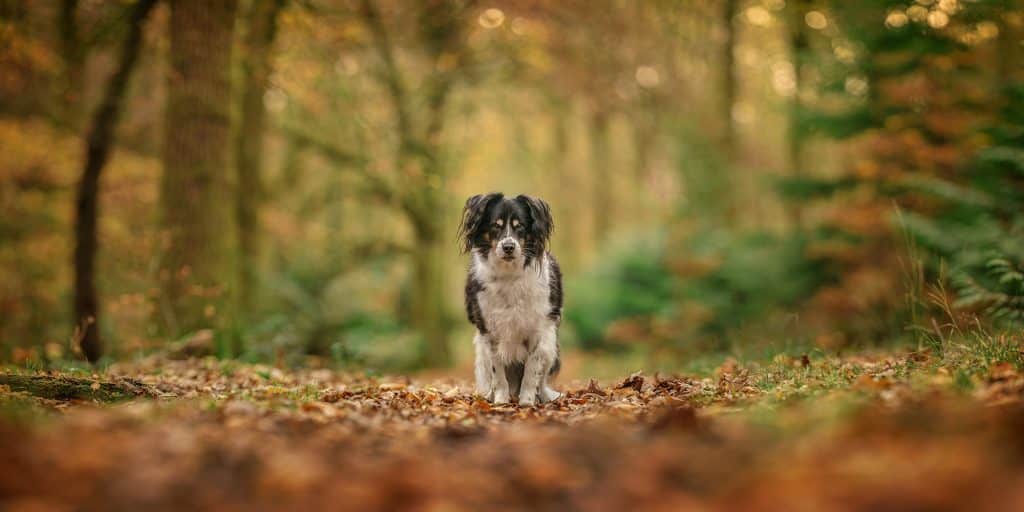
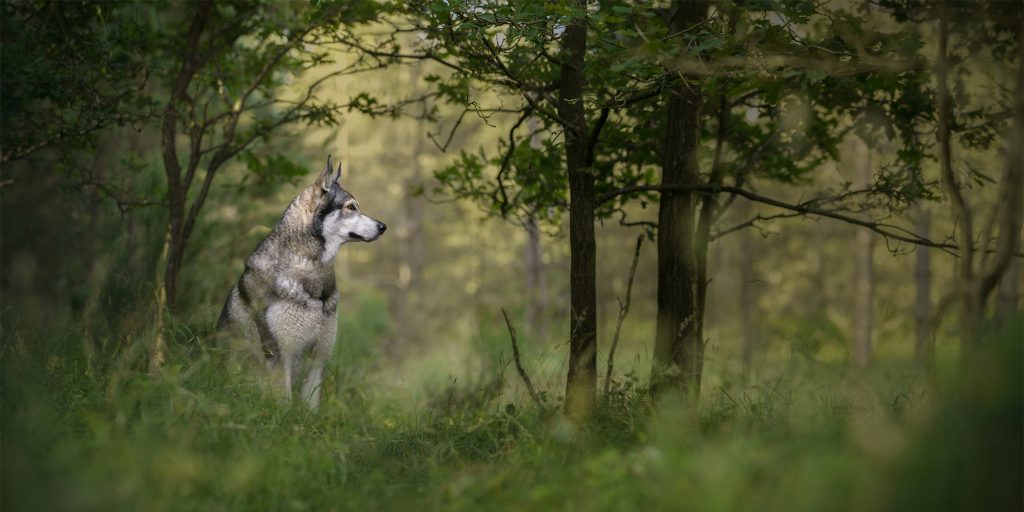
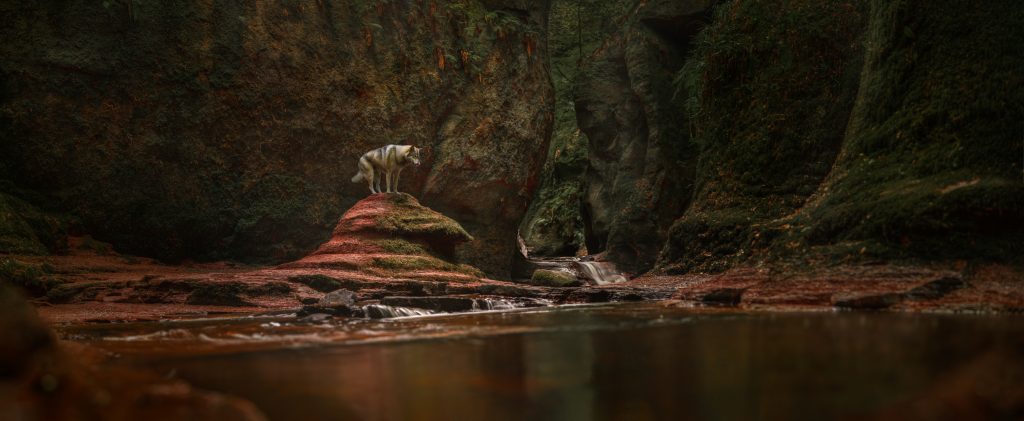
Pano examples:
Here’s a small selection of my Panoramic photos to hopefully provide some inspiration!