
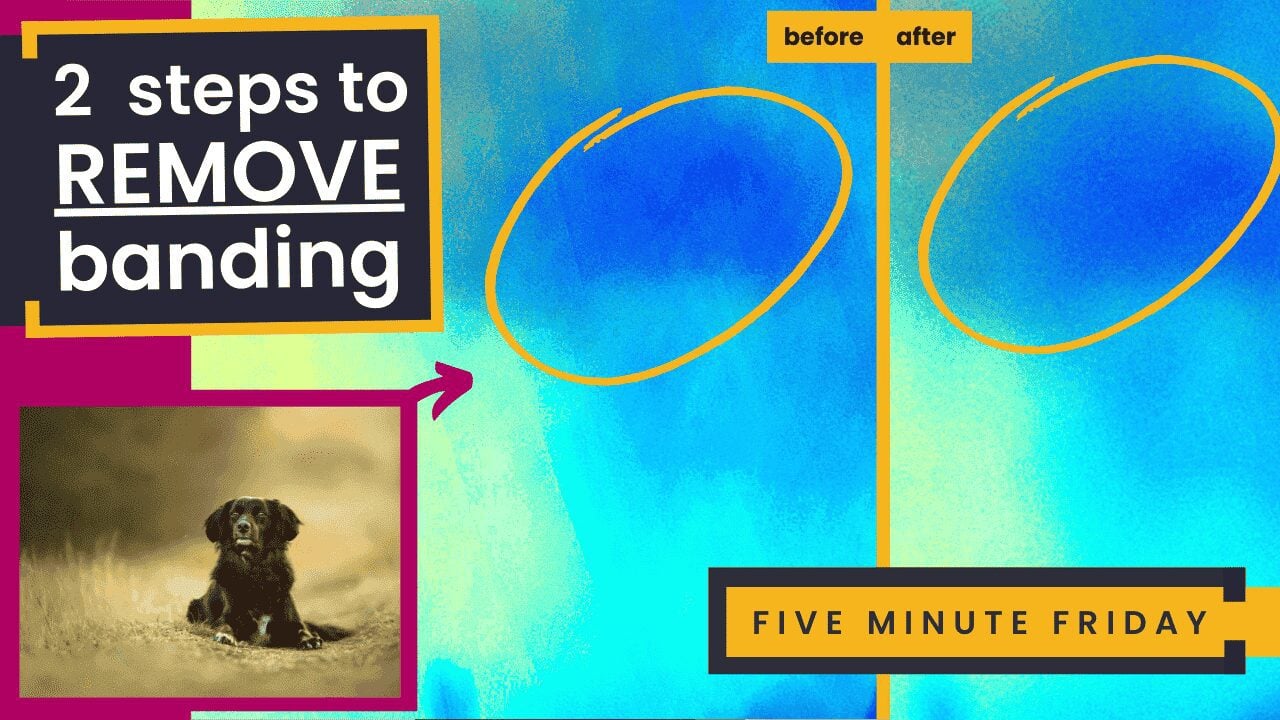
This weeks video is on a problem I see almost every day, and certainly every time I ever judge or critique images: Banding. We’re going to look at what it is, why it happens and how to fix it in photographs after it appears. Removing banding in photoshop should always be a last resort though – it is far better to find and treat the source than fix banding after the image is finished and saved out, so keep that in mind!
There is a video on how to remove banding in photoshop, that’s here:
Essentially, the process for removing banding in Photoshop goes like this:
- Start with a flattened image in Photoshop
- Duplicate the layer
- Click on the new copy
- Go to Filter -> Blur -> Surface blur
- Set the threshold to around 20
- On the radius, start at 0 and move up in small increments until the original bands disappear
- Click OK when you’re happy
- Go to Filer -> Noise -> Add noise
- Switch the settings to Gaussian with Monochromatic checked
- Add enough noise to match the previous level included in the image. Usually 1-3% is sufficient
- Click OK when you’re happy
- Click back on the original background layer and choose select -> subject
- Click on the new blurred and noised-up layer and hit the new mask icon
- Press command (or control on windows)+I (for iglo) to invert the new mask
- Grab a black brush and at 100% flow and opacity, with a soft edge, remove any parts of the image that are in the midground or foreground. You can dust around the subject at 30% if needed
- Banding gone!
How to check if your image has banding?
Super important point! The easiest way is to pop on a Solar Curve adjustment layer. This curve looks like this:
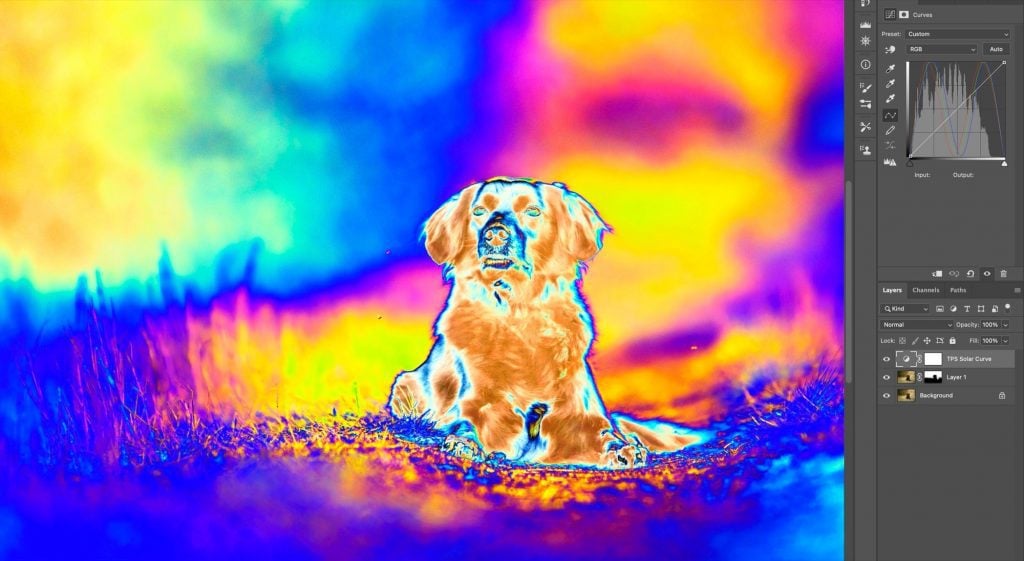
For MTog’s you can download your very own TPS Solar Curve action to quickly get this layer onto an image. It’s inside the MTog Vault.
Not a Member of That Tog Spot? Check what you’re missing here.
Happy band fixing!
Oh, this was super helpful to me! Thank you so much Jess!