
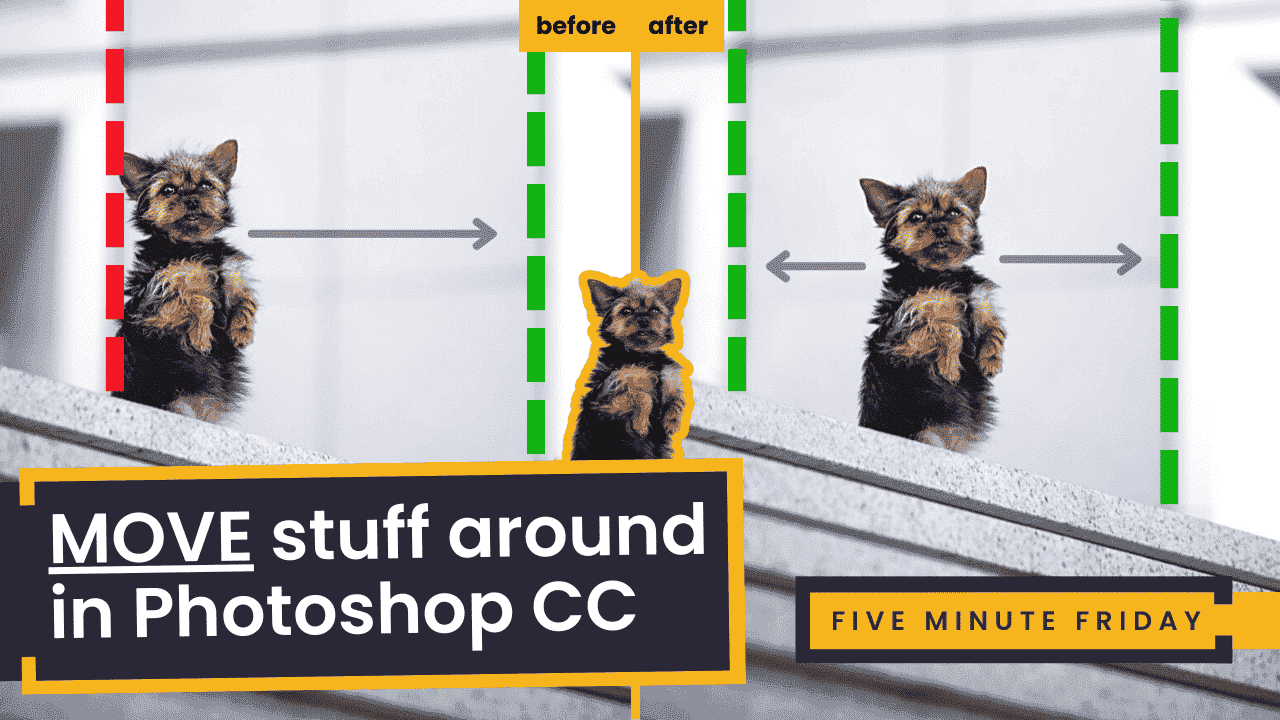
In the April Monthly Challenge Review video, an image of the absolutely adorable Guess was seen and I commented that it would be much more seamless if the dog was positioned centrally in that vertical strip of grey behind. The photographer, Ulysse Debove, kindly sent over the JPG file so that I could show you guys exactly how I would tackle it! The video on this topic is here:
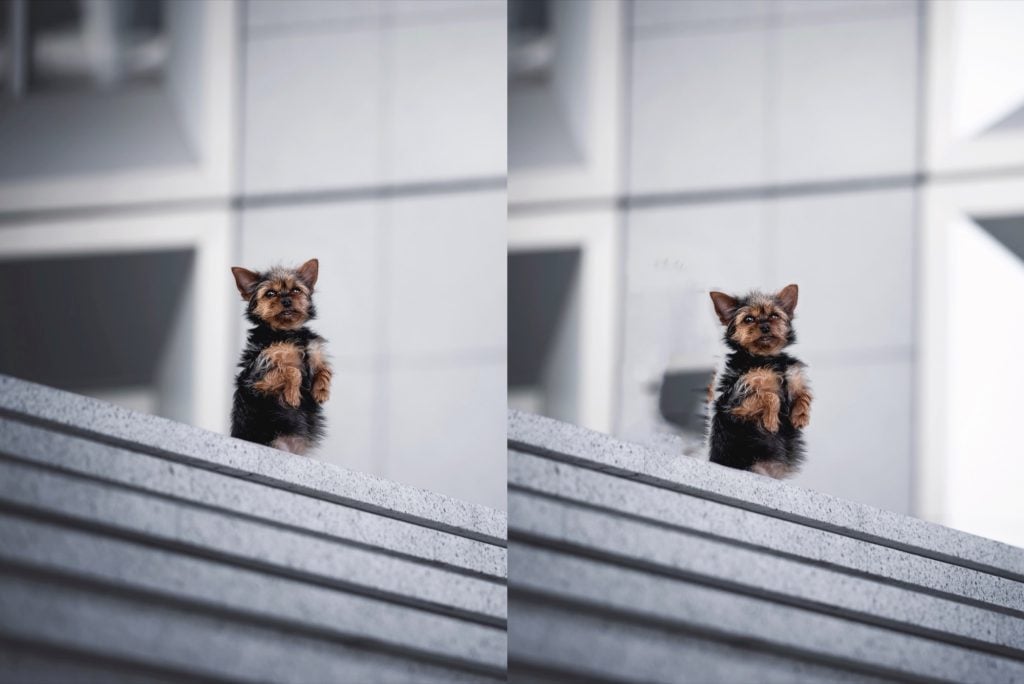
I can see the comments already… before the video is even posted: “you can just use the content-aware move you know!” and I totally agree BUT, check out the result of the content-aware move below. Hopefully, you can see why this is not my first choice…
Ok, with the reason why the CAMT is not on my “top tools for this job” list, let’s have a quick walk through the steps covered in the video linked above to end up with this before and after transformation:


How to move things (cleanly) in Photoshop:
- Duplicate the background layer twice. Name the topmost layer “Subject” and the one underneath “Background”. Ignore the bottommost layer
- Turn off the Subject layer so that it is invisible
- On the Background layer (the middle one in the list), remove the subject (or thing) entirely from the image and then clean up the area they were. There should be no sign that anything was there, at all
- Turn on the Subject layer and make sure this is selected
- Run a Select -> Subject, then Select -> Select and Mask…
- Mask your subject as well as you possibly can and apply that mask to the layer
- You can now move your subject anywhere, and clean up the blend (usually on the floor) using your masks!
Hope that helps!