
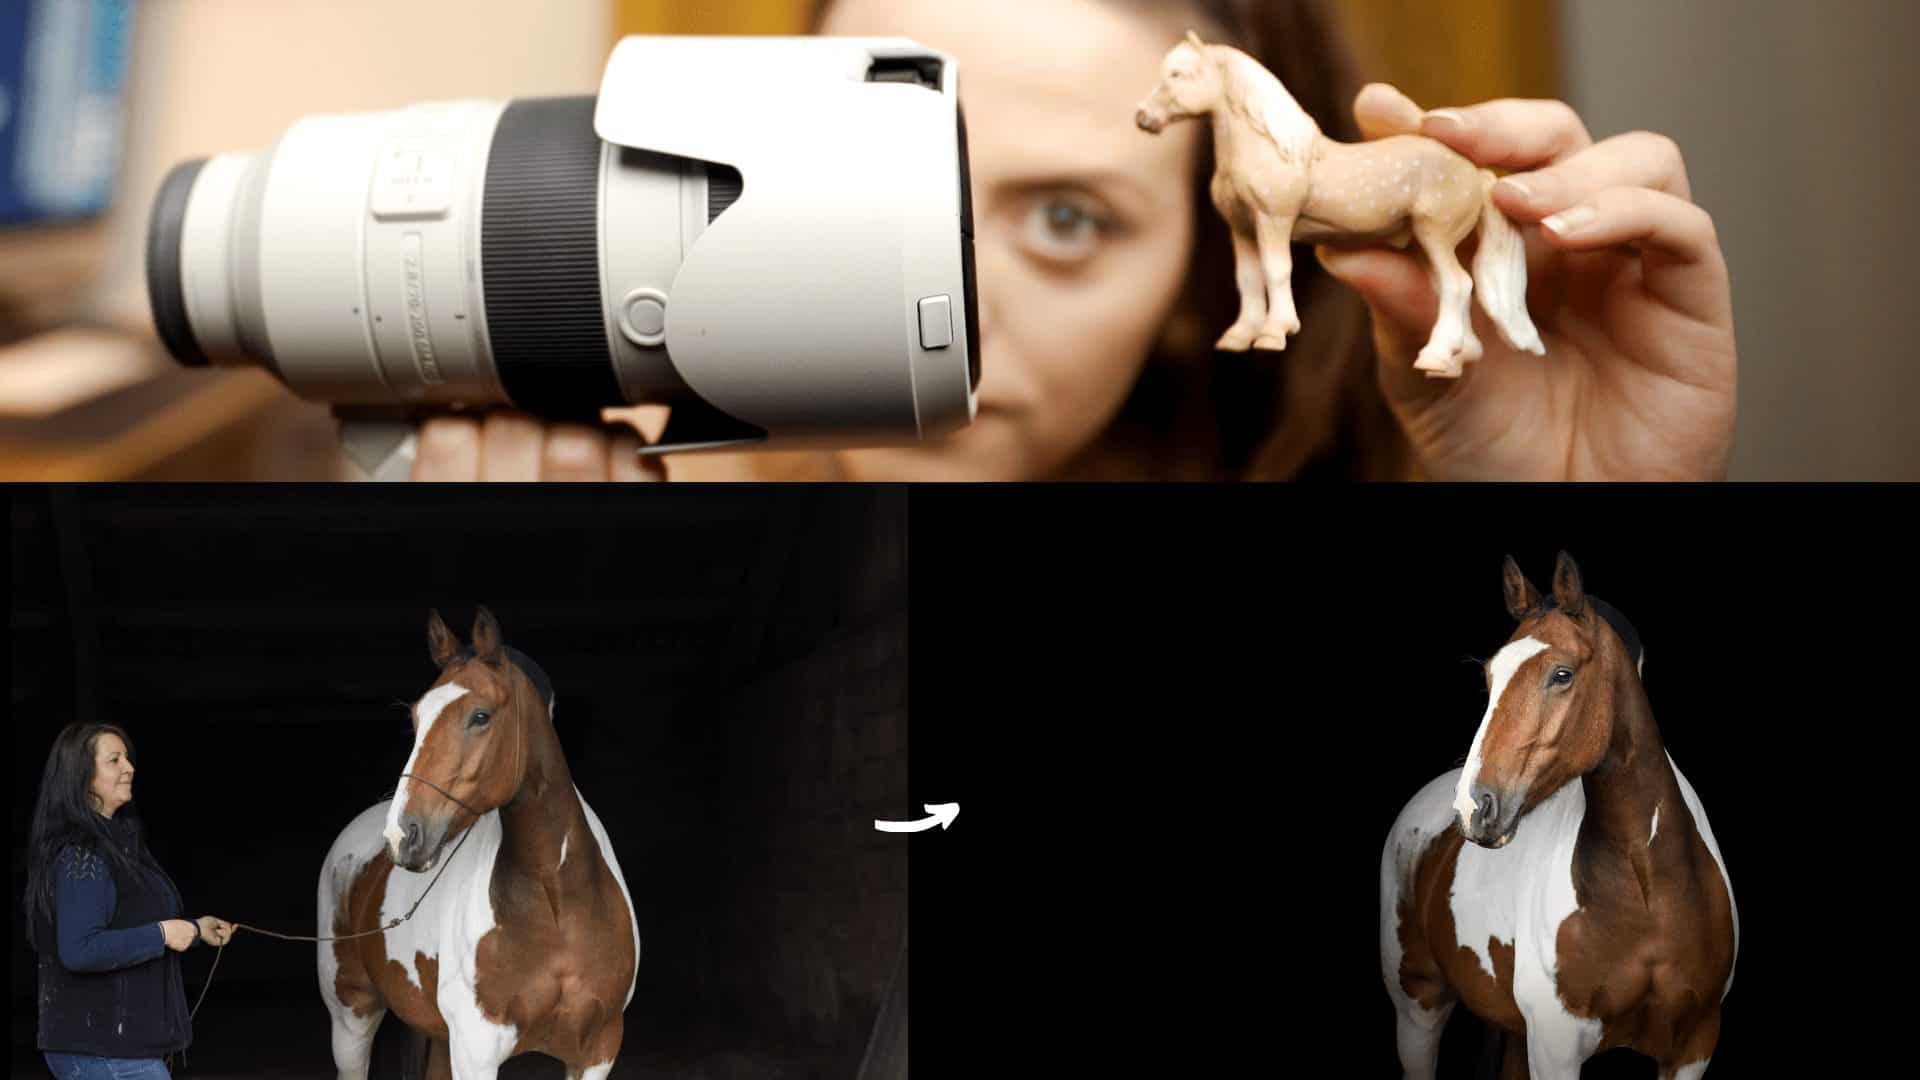
How do you do black background horse photography if you don’t own any studio lights?! Look no further. With the help of Jo from Wildair Portraits, we’ve broken down black background equestrian photography into a tutorial of how to actually get these photographs and then how to do a black background edit in Photoshop too (thanks Jo!).
If you want to watch the shooting portion of this topic, check out this video:
If you want to watch the theoretical version of the shooting part of this topic along with the editing (starts at 3:45), just watch this video:
There are some specific tips that will help you when shooting your black background barn photographs, these are:
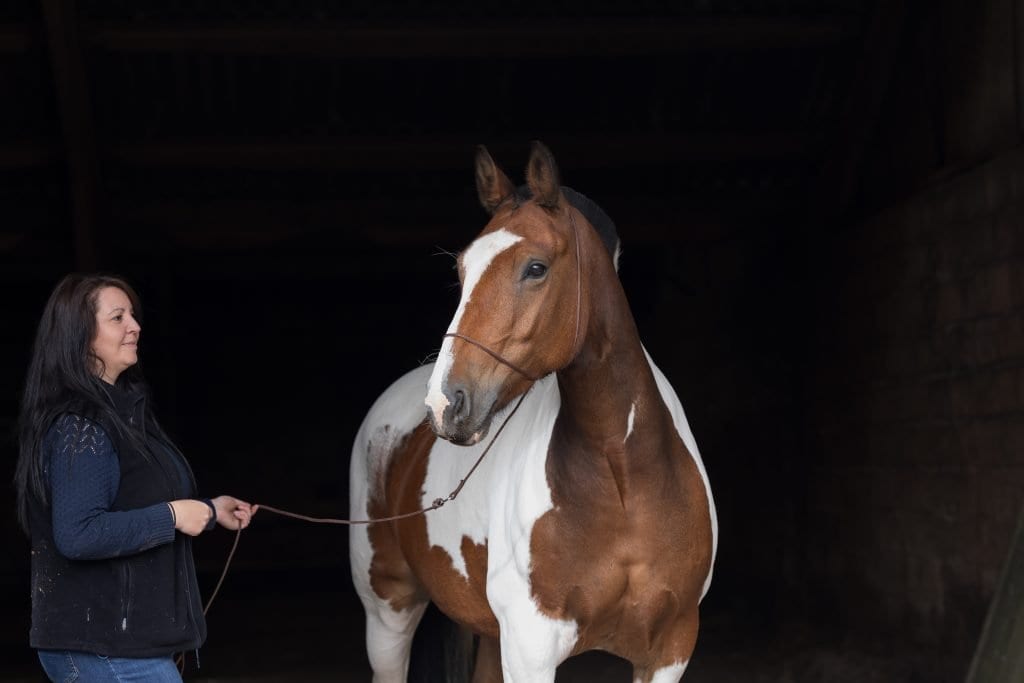
- Place the horse in the doorway of a dark barn
- Ensure the horse isn’t too far in, or too far out, of said barn
- Try to make sure the light is soft (cloudy days!)
- Expose for the part of the horse that is outside of the barn
- Compose the shot as well as possible in camera
- As with all horse photos, ears forwards and curves are perfect
- Try not to let the line of the horse cross over brighter things in the shot
If this happens, check out this technique for removal. - Thin halters are far easier to work with than chunky headcollars
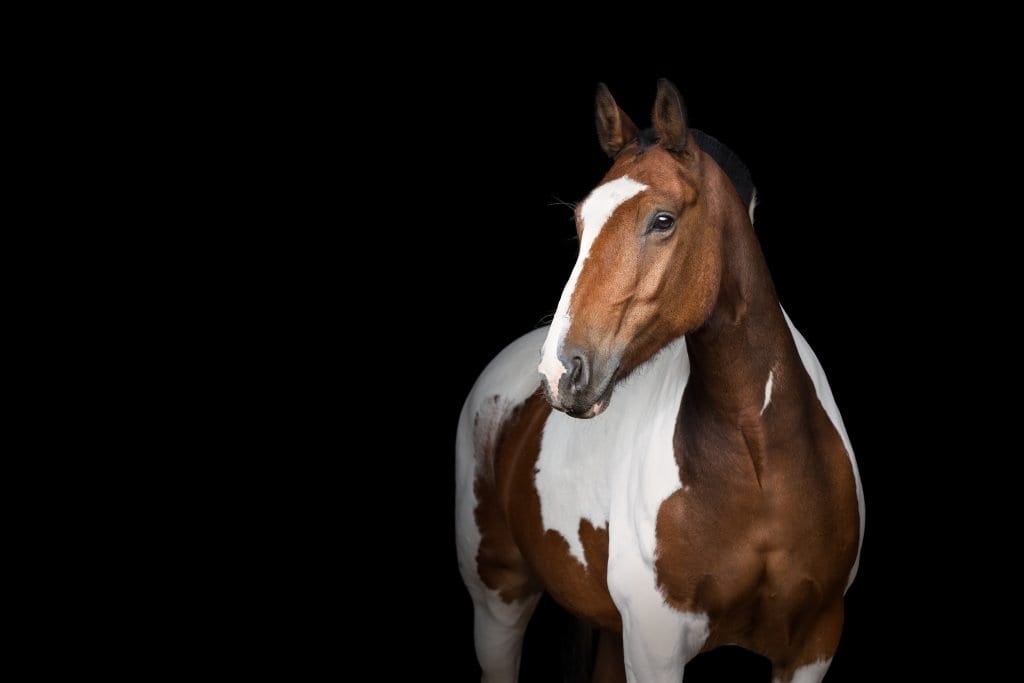
Similarly, there are some pointers to keep in mind when you are editing your black background horse photographs. These are vitally important and may be tough words to hear if you’ve been doing something different (sorry!):
- Don’t just paint black into the gaps and call it a day. This is not creating or manipulating the lighting, this is painting in a gap. Shape the light, feather it out, create a mood. Try hard!
- Ensure you do not paint or remove whiskers, eyelashes or mane/feather – you need to ensure these are in the final edit, not painted over in black
- Ensure you take care to remove your halters and tack in a way that isn’t messy. This video on removing things in Photoshop might help!
- Take care to not lose ears into the blackness
- Contour to create contrast on the horses coat (win for shiny bits!)
- Work the eyes to pop the catchlight
The full editing process will vary in time depending on how complex the halter/tack removal is, but realistically it shouldn’t take you more than 5-8 minutes to complete this workflow with practice and finesse.
As usual, it’s always better to get things right in camera and tweak them in post. It pays to nail the shot!
Before and after for this black background horse photography video can be seen below, huge thank you once again to Jo at Wildair Portraits for lending us a file!
Hallo Jess, Thank you again for your video. I learned new things about the editing
I have a question about your shutterspeed I thougt that you at least need the focal length of your lens especially with object that can move, what lens do you use. I use my 70 200 f4 and on cloudy days I have a not enough light for a high enough shutterspeed or I have to bump my ISO but than I have a lot of noise with my crop camera. My next question is how do you let a black horse stay black instead of grey.
Hey Miriam, this video was shot in a pitch-black room except for the artificial lights for video, for the purpose of the how in the set up of the horse, so the settings seen on the camera are absolutely not recommended! The Exposure Triangle video and principles remain true here – Moving a black horse out of the barn slightly, to add light to his hindquarters (just a little), would create separation. You want the black coat to not be completely clipped (no data), but close too. Add contrast back into the dark sections and only contour on the natural highlights in muscle.