

I realised that although we’d created a tutorial on how to photography multiple subjects together, the Request Box was still filling up with questions on what to do if you have a human and a pet together in the same photograph.
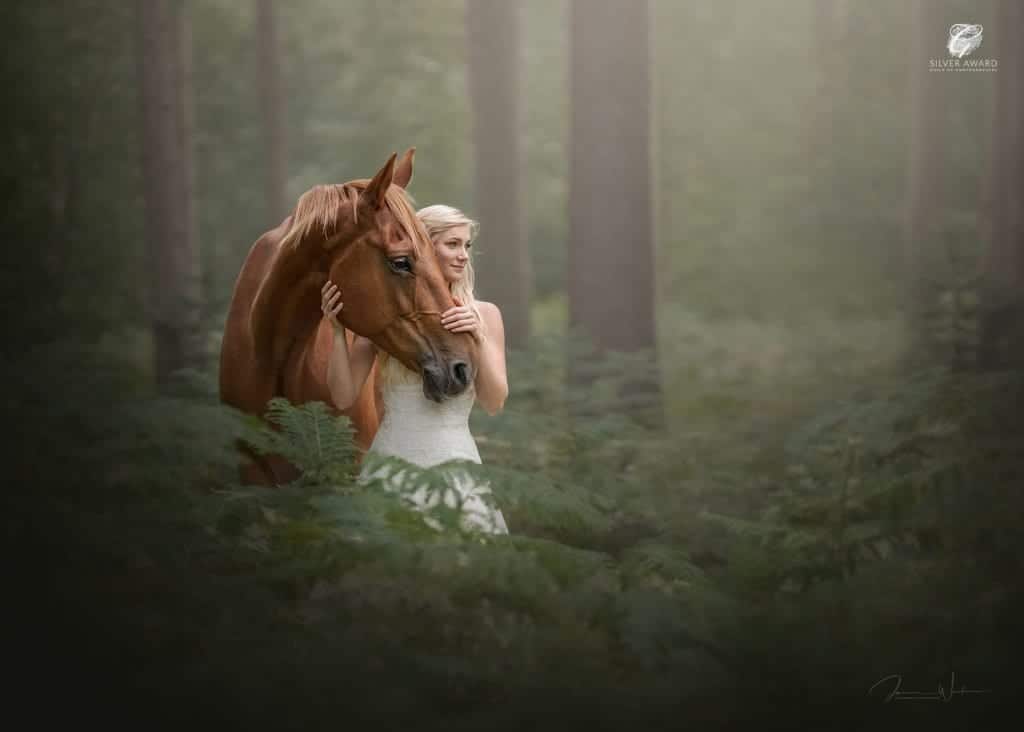
Now, I will state right here, right now, that this is not my bag – it isn’t something I do regularly, but many of you have seen the Mia & Solo portrait that did (and continues to do) really well in competitions so I figured I must know some tips to share at the very least. This image has, to date, gathered the following titles this year:
- MPAr = Northern Equine Photographer OTY
- Guild = Equine Image of the Year Finalist
- BIPP = Silver Award
- MPA = Print Finalist
I wrote up a list of 8 tips for photographing people and their pets together, and today, that list is yours to peruse. There is a video on this topic, that’s here:
Down to those tips:
1. Learn the settings to take an awesome portrait
This one isn’t about the actual family photo itself, but it is absolutely vital for the entire thing to come together, so before you even start contemplating a people and pets portrait, check out the numerous portrait how-to videos and blog posts on this site & the YouTube channel, such as:
- How to take an awesome portrait
- How to compose during a portrait shoot
- 10 ways to instantly improve your portraits
- How to shoot backlit portraits
And so on. There are loads, so make sure you absorb the info and then actually practice – you can’t get better without the latter!
2. Learn how to get two or more subjects sharp in one image
After you’ve mastered taking a banging portrait, next it’s time to understand depth of field in more detail, and how you can utilise the physics of aperture, distances and lens choice to ensure multiple subjects are in focus in one single frame. For this, there’s a whole post dedicated to it so head here.
3. Explain focal planes to your human
Ok, we’re in the actual photoshoot now, so let’s get a bit more specific. The first thing I do is explain focal planes, in simple terms to the human, and ask them to try their best to position their head on the same focal plane as the animal. It isn’t always possible, but doing so will make the final image far better.
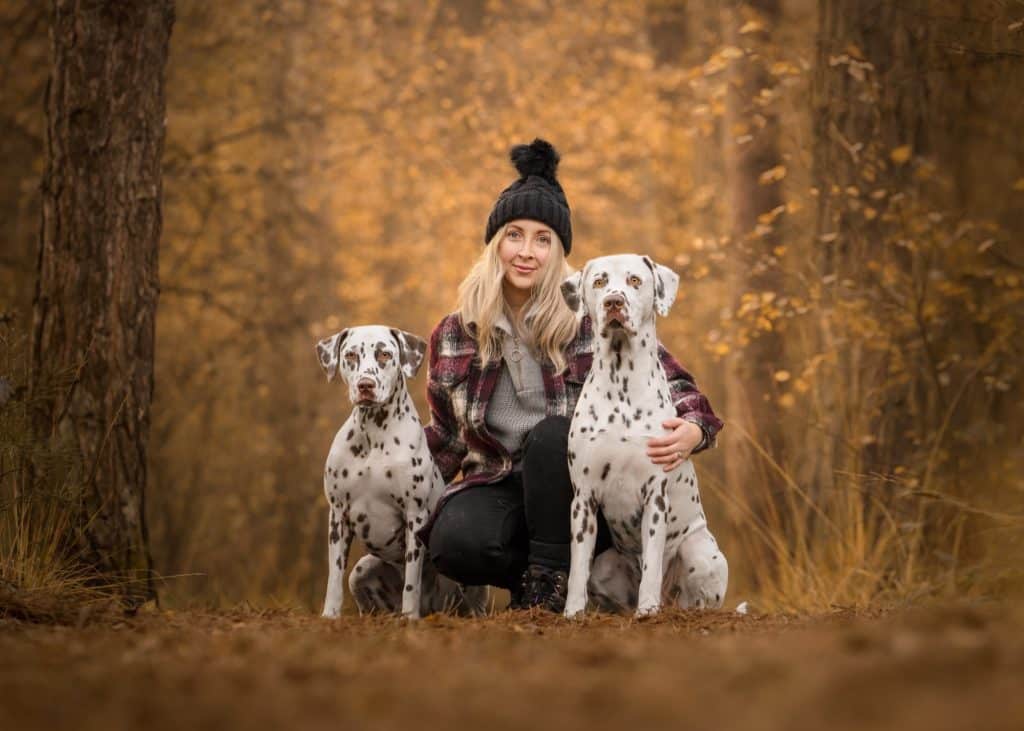
For Sophia and her Dalmations above, she had to try to get her eyes on the same line as both of her dogs, but she managed to be close enough and the final frame didn’t need to be composited to create the final image.
Time saver, and it’s just easier!
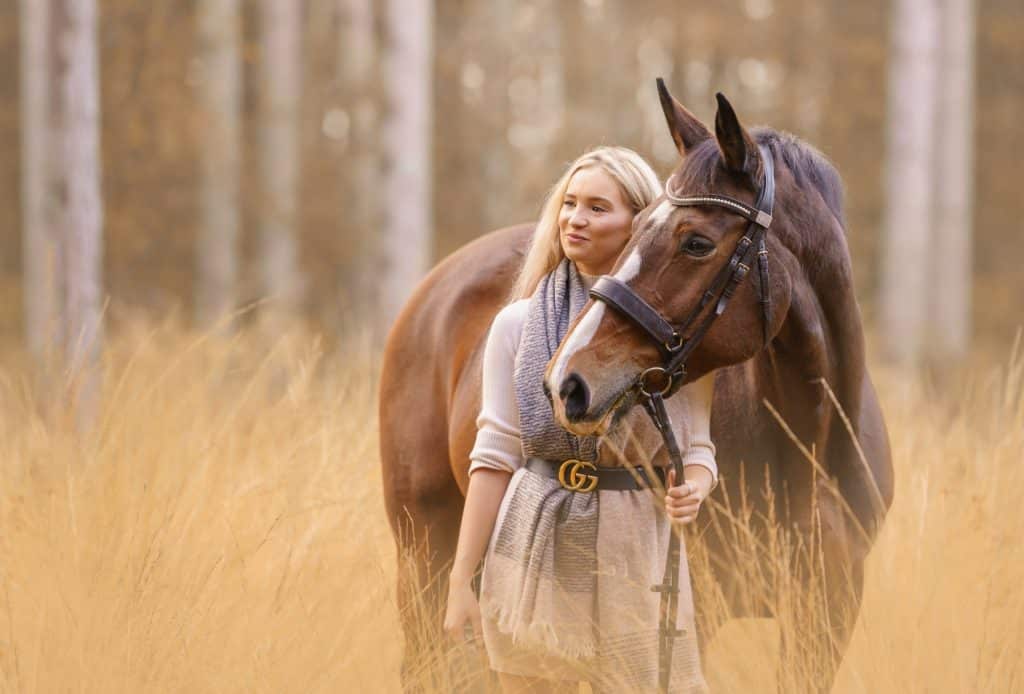
4. Have the human position themselves slightly open to the camera*
*usually, there are exceptions!
When it comes to the human side of the equation, we can ask for help in a few different ways. The first is to angle their body slightly towards the camera, so that they are “open”, instead of being completely side-on, or “closed”. As you can see in the image above, Fran kept her body angled open towards the camera.
It’s a really little thing, and it isn’t always needed, but it can help to direct the client to angle like this once or twice during the session.
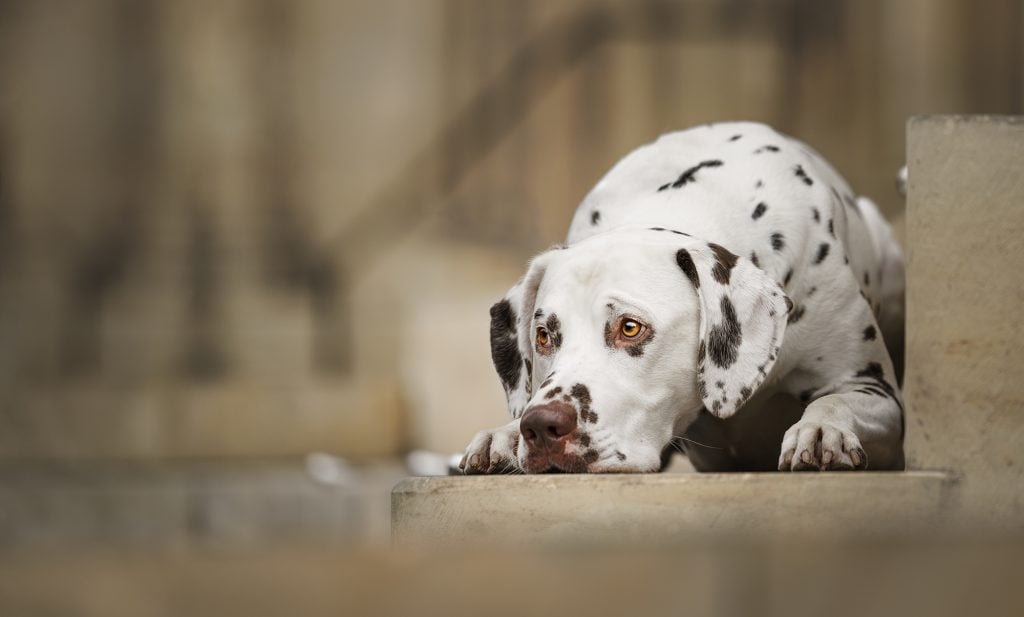
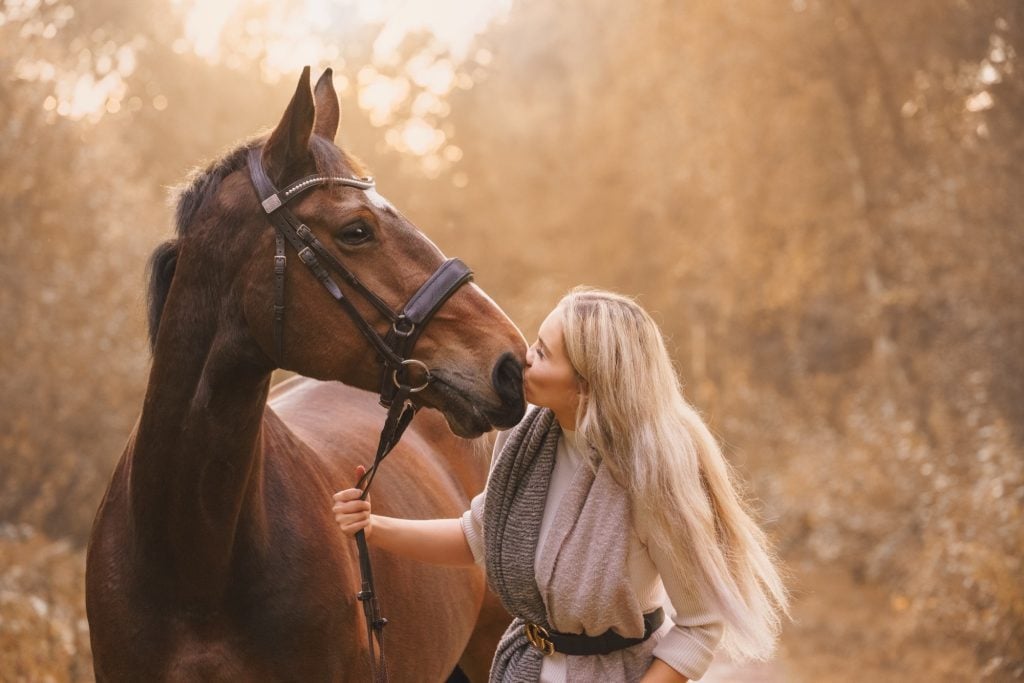
5. Ask those with long hair to tuck it away if it is covering their face
One to definitely take note of, ask your clients with long hair to either move their hair away from their face on the side closest to the camera or tuck it behind their ear. Not only does this help to see the facial expression of the subject, but it also makes for a more pleasing image. Below, you can see an example of hair not tucked, but we can just about make out the facial expression. On windy days, like that of the image below, it isn’t always possible to keep hair out of the face, but try to keep an eye on it when shooting nonetheless.
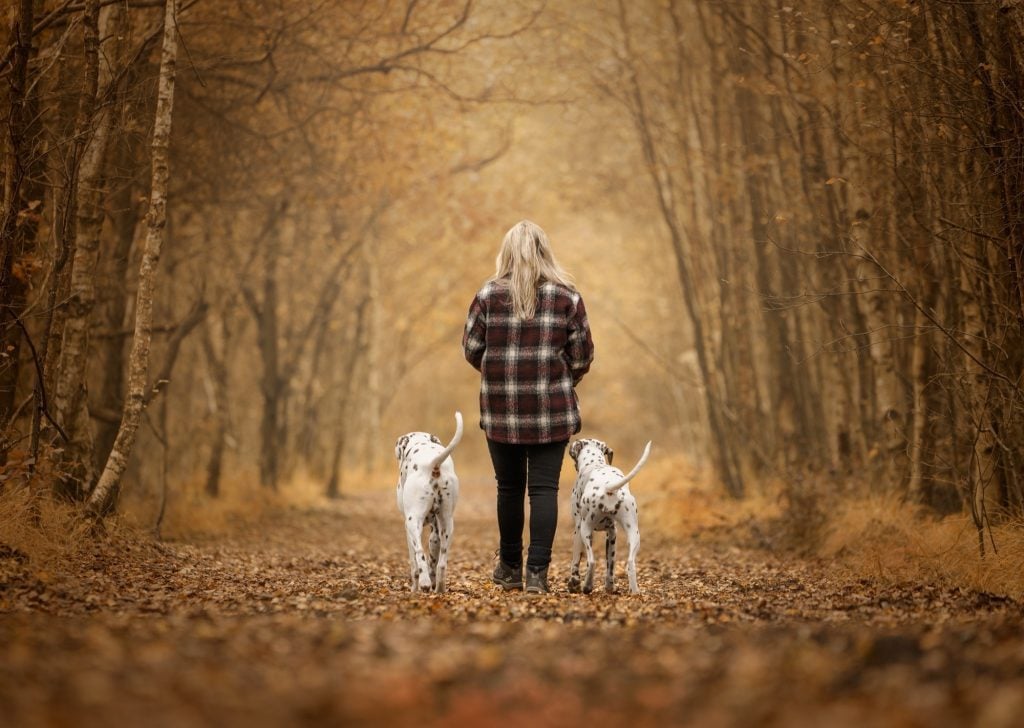
6. Encourage interaction with the farthest arm*
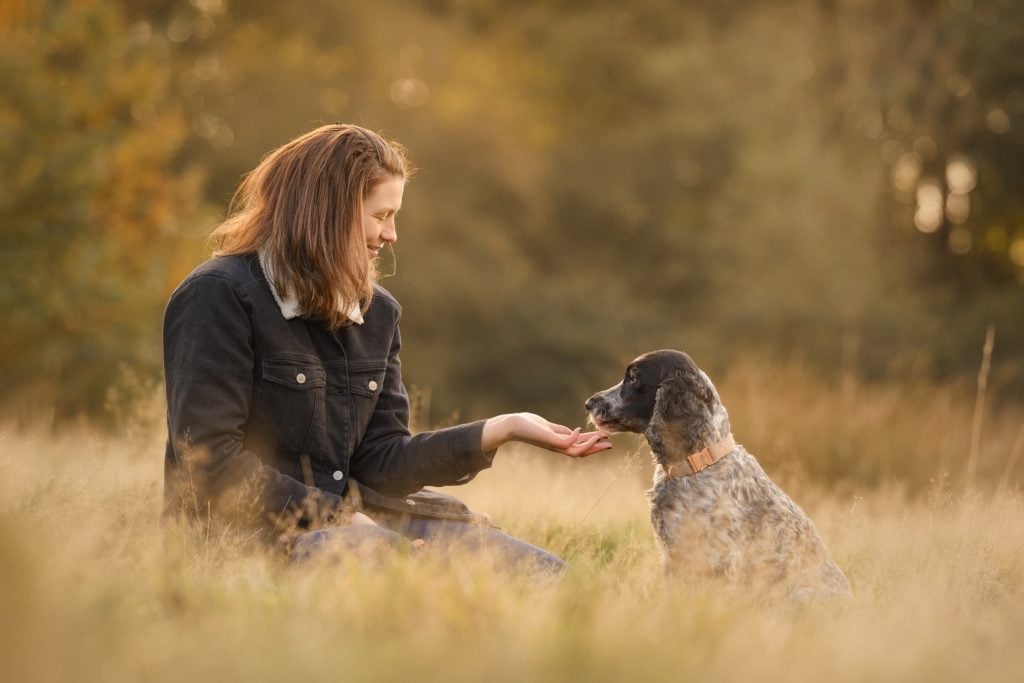
*usually, there are exceptions!
Below you can see an example of the opposite of this point, but above you can see that the interaction with the farthest arm assists in keeping the body open to the camera, and provides a vital point of connection (see below). It’s a simple request and one that is usually easy to implement!
7. Have at least 2 points of connection
If you possibly can, try to have two points of connection between the subjects. This can be literal (physical contact) or implied (eye contact). In the image above you can see both in action. When posing humans and pets together, the pet can look at you, but to increase the togetherness of the image, ask the human to look at the pet and smile. The variety of looking at you and at the pet will add variety to the client’s final gallery.
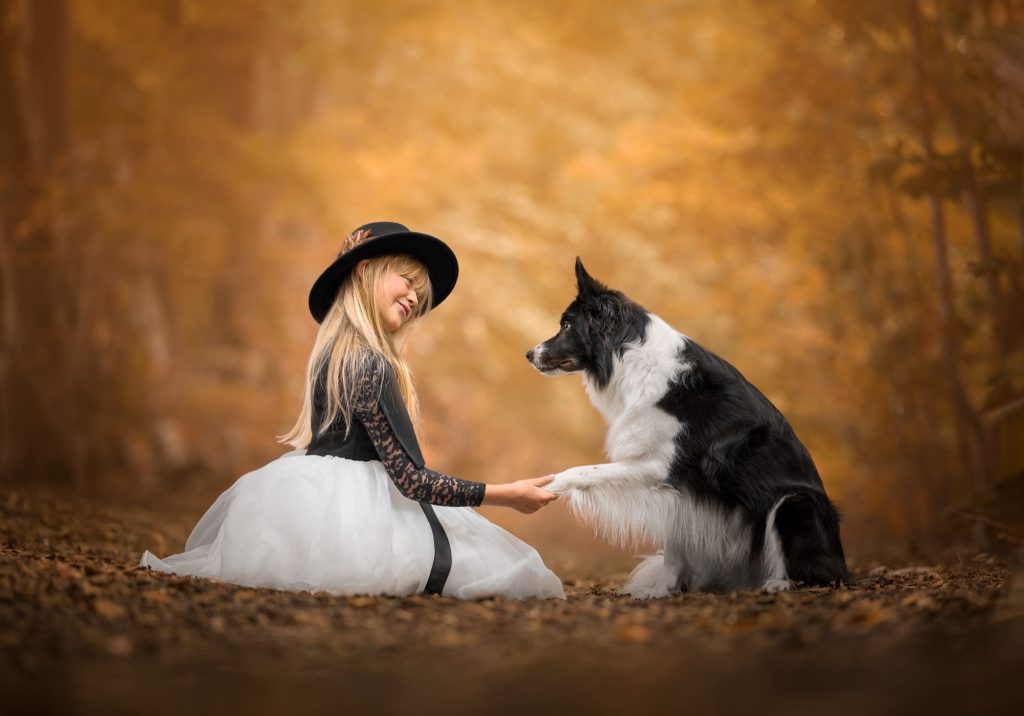
8. Ensure the subjects overlap*


*usually, there are exceptions!
I know the example isn’t of a human, I know I know. But, it does show what I need it to show and so we’re rolling with it. In most cases, almost all, you want there to be an overlap of some sort between subjects. This could be a point of physical connection, and you should work to either post with no gaps, or edit gaps out afterwards.
It isn’t always needed, images such as silhouettes make sense with a gap between the subjects, and other composites may work better with a gap too, so it is one to play with if nothing else.
Ok, that’s it – my 8 tips for better people and pets photos! Helpful? Please share & say so!