
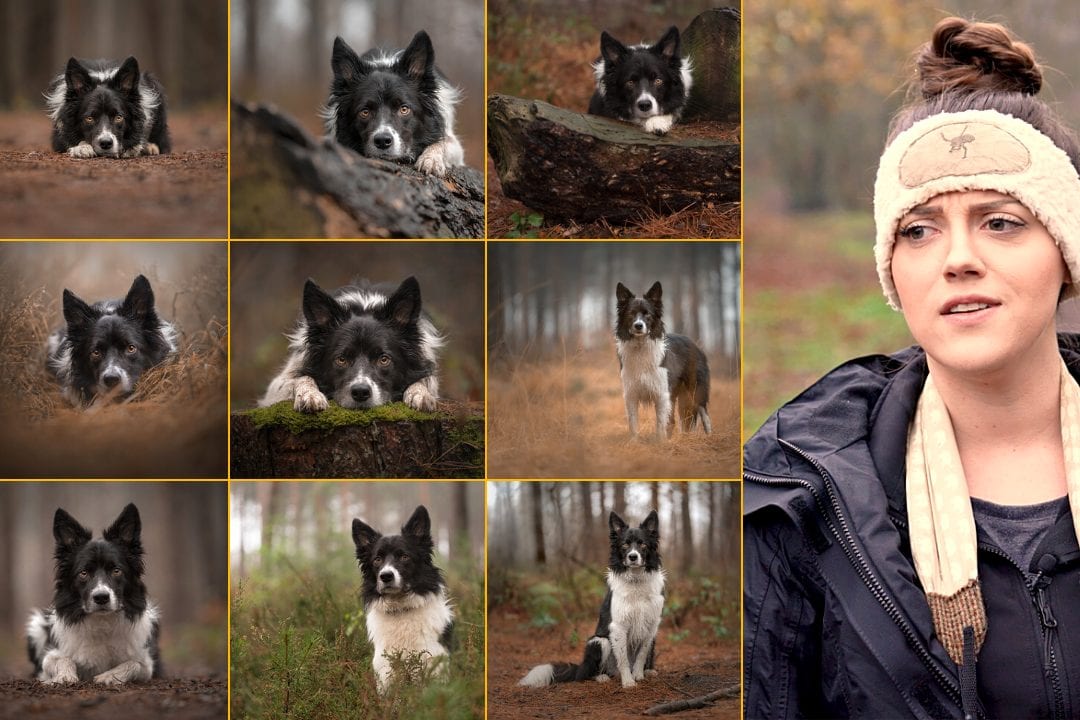
This is a video I’ve wanted to do for AGES but we just haven’t had the time or the right location and weather to be able to do it all in one take. However, the stars aligned one Saturday morning and, in drizzle (honestly, the weather forecast said it would be clear!), and we went to gather these 10 tips, with examples, of how to improve your portraits.
These tips work for any subject and hopefully are particularly useful out in the woods. We used a 70-200 2.8 Sony GM lens for this video’s examples and shot all but the last one (I think!) at f2.8, however, the EVF is recorded and the settings are on the screen there.
You can either watch the video or just check out the example images on this page of before and after correcting small things that make a difference in your portraits:
All of the images in this video and blog post have had the exact same adjustments as their partner image. So for each pair, there is no difference in the editing and in most cases, there’s been no cropping (aside for straightening). The images are either RAW as shot or with lightroom adjustments only. One image has been through Photoshop using the Full Edit steps and this is mentioned in its caption. Enjoy!
Improve your portraits by: Not having things coming out of the subjects head
Tip one is pretty simple. I did screw myself over here by positioning myself right next to a huge tree, but you’ve seen me do this before anyway so I’m cool with this example being probably the worst of the bunch (sorry!):
Before: Tree coming out of his head. After: No tree coming out of his head.


Improve your portraits by: Getting down to the subject eye level
Tip two is essentially to just get down to the subjects eye level (or below). Here are two photo’s shot seconds apart with Alf and I in the exact same place. Notice how in the second one, Alf looks more powerful and the image has more impact? The only difference is that for the second image, the camera was on the floor and for the first, I was just above his eye line:
Before: Shot taken from just above eye level. After: Shot taken below eye level.


Improve your portraits by: Getting closer
Tip three is all about relative distances for background blur. This was something we covered in a previous video from start to finish, but this is it pretty much in practice and by moving closer but with the exact same settings, the background distractions are muted and a higher level of separation has been achieved:


Improve your portraits by: Giving the subject space
I know I just said get closer, but there’s a limit to that for impactful portraits. Below are two shots (sorry, I didn’t actually take the first one but this is the EVF at the moment I would have done!), the first image is very tight, with an ear cropped off and it is actually quite claustrophobic. The second gives the subject room to breathe on all sides and allows your eye to sweep through the frame without obstruction:
Before: Shot too tight, ear chopped off. After: Subject has space to breathe! (edited in Photoshop)


Improve your portraits by: Not shooting side on
This was really hard to recreate because it’s nearly impossible for me to make this error for my own shooting techniques, so actually, both of these photo’s are kind of ok really! What I was trying to illustrate was that when the subject is side-on, because of the length of them, you end up with difficult composition because the head is usually over the centre line, making rule of thirds or other compositional methods impossible unless you shoot a wider shot, sacrificing depth of field in the process.
The second image was a correction that just involves setting the subject slightly more straight on. This shift allows for better composition and more balance, even though everything else has remained the same.
Before: Side on shot lacks balance in composition. After: Rotation of subject creates balance.


Improve your portraits by: Moving your subject off the background
Tip six is about that relative distance thing again, only in this case, you’re not moving closer to the subject, the subject is moving closer to you. By pulling the subject off the background, you can create separation and more background blur in the process. I guess the image show what I mean better than I can explain in words:
Before: background is distracting because of subjects proximity. After: Exact same background with the dog moved a few metres out – separation achieved.


Improve your portraits by: Composing in camera
This is another one that is super hard for me to try to do because I don’t think I’ve used my centre focus points in literally years! This is how many people shoot – using the centre points and then cropping in afterwards. However, if we compose in camera, the final image usually has higher impact, doesn’t need as much editing and has additional background compression as a result because you can be a bit closer – win win win.
Before: Centre point focus means the shot is wider and needs cropping for good composition. After: Composed well in-camera (even though he looks moody AF) meaning no cropping and better background & foregrounds! (neither image is cropped here)


Improve your portraits by: Using spot focus!
Tip eight is all about the focus area which I’ve touched on about 3000 times already in this video/post, but still it deserves a mention. The first image uses the cameras auto focus setting, literally it just picks what to focus on as best it can. In most situations, it will get the choice wrong, especially with dogs. Here it picked the log. The second image uses single point focus with the point put over the closest eye and the result is a sharp image in all the right places.
Before: Camera picks what to focus on (bad plan!). After: Spot focus used to select the closest eye.


Improve your portraits by: Using natural lines
This tip relates to using objects and elements in the location and usually, the natural method is to put your dog over it and shoot it frontally. This is fine, it’s cute, but it lacks finesse and professionalism because there isn’t 3 zones (foreground, mid and background). If you use the lines in the environment and shoot along them, with them, instead of against them, you’ll end up with lovely zoning and a more dynamic final image:


Improve your portraits by: Not shooting into light backgrounds
This tip is what I’m probably most passionate about. It’s something that I genuinely believe in and it all focusses on the theory of optic processing in our brains – that the eye will always go to the brightest part of the image first. Using bright backgrounds gives huge competition for the subject who, if completely black or dark in colour, with usually always lose. Shooting into a darker or more muted background instantly pings the eye to the subject and I personally love this.
It wasn’t a super bright day for this so it was hard to show well, so I’ll also include two raw files below of Bryt from the same track on a brighter day to illustrate:
Before: Background is bright and pulls your eye from Alf. After: Background doesn’t pull your eye away from Alf.


That’s 10! I’d love to see you guys applying these things so if you do, please tag us on social (FB and Insta) and let us know what you tried – bonus points for before and afters!
Hi there great video as usual I learn something new…but could you tell me what that handy gadget is on top of your camera?
Also…do you ever tether your camera to a tablet?
Dave